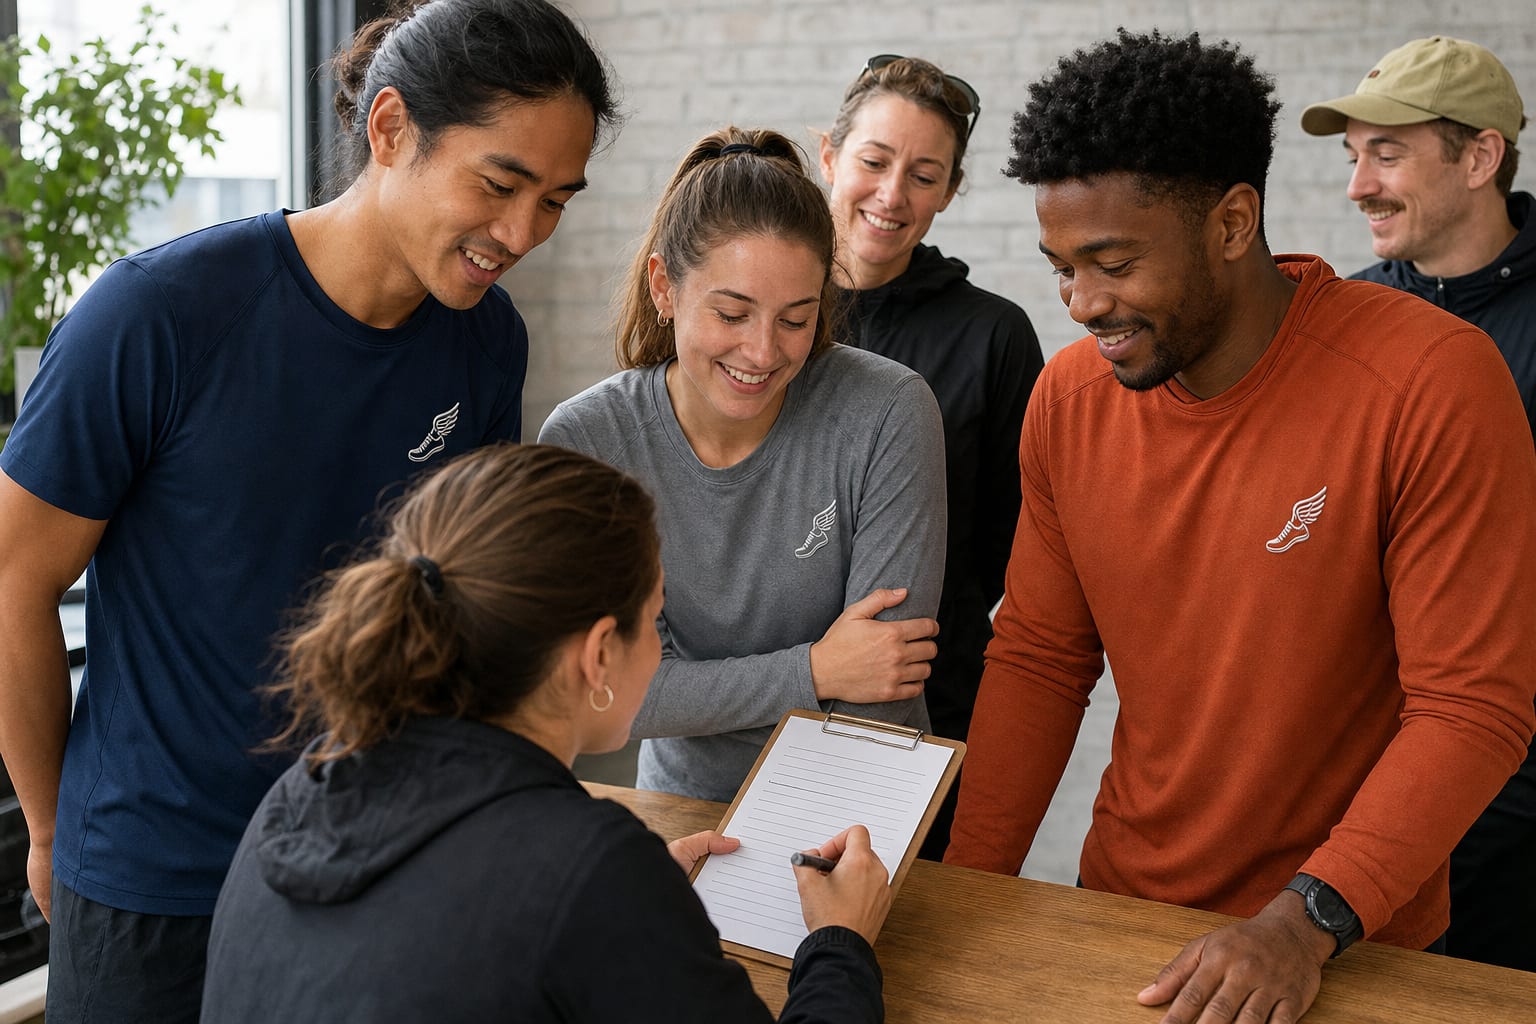
Custom embroidered shirts can make a small team look established without making everyone feel like they are wearing a uniform. They work for book clubs, running groups, volunteer crews, studio staff, recreational teams, hobby clubs, event committees, and new businesses that need a polished shared identity.
Small-group orders also require careful planning. Every extra garment color, name, and logo variation can create an opportunity for error. The following eight-step guide explains how to order custom embroidered shirts for a small team or club, from choosing the garment to approving the design proof and planning future reorders.
1. Define Where and How the Team Will Wear the Apparel
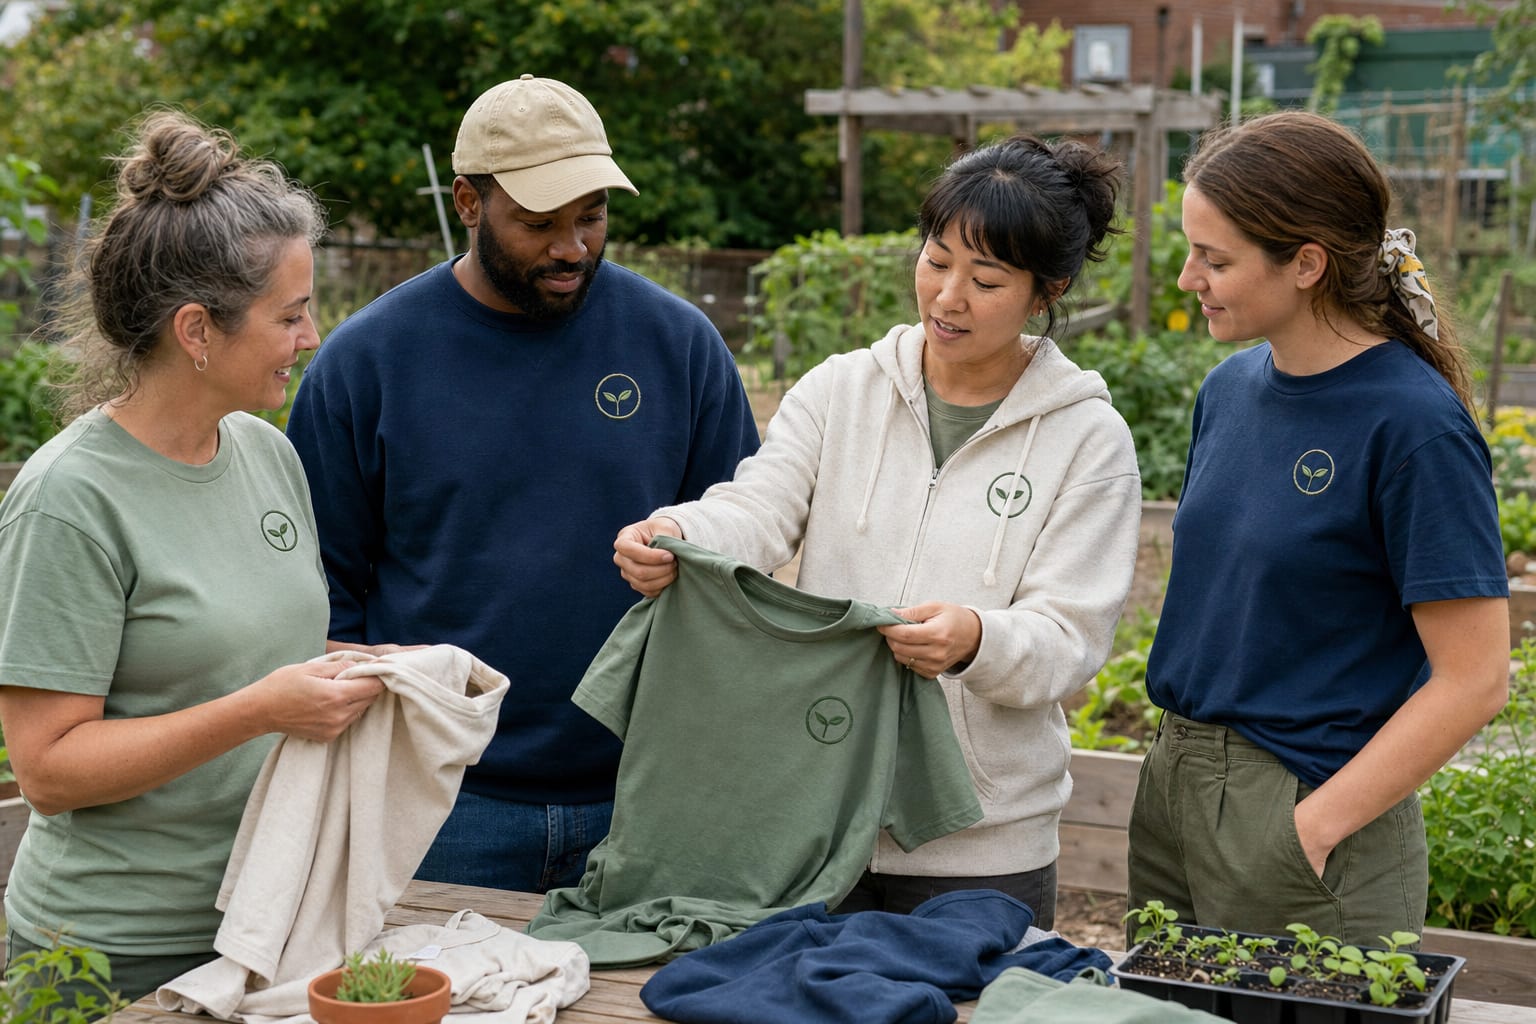
Start with the purpose, not the product catalog. A volunteer cleanup crew may need breathable T-shirts, a book club may prefer casual crewnecks, and staff who move between indoor and outdoor spaces may benefit from zip hoodies.
List the main wearing conditions: season, temperature, activity level, indoor or outdoor use, and how often the garment will be washed. Then decide whether one style can serve everyone or whether members should choose from two compatible options.
For a small team, comfort improves participation. A coordinated group can still look cohesive when members wear different garment styles in a controlled color palette.
2. Prepare an Original Logo for Embroidery
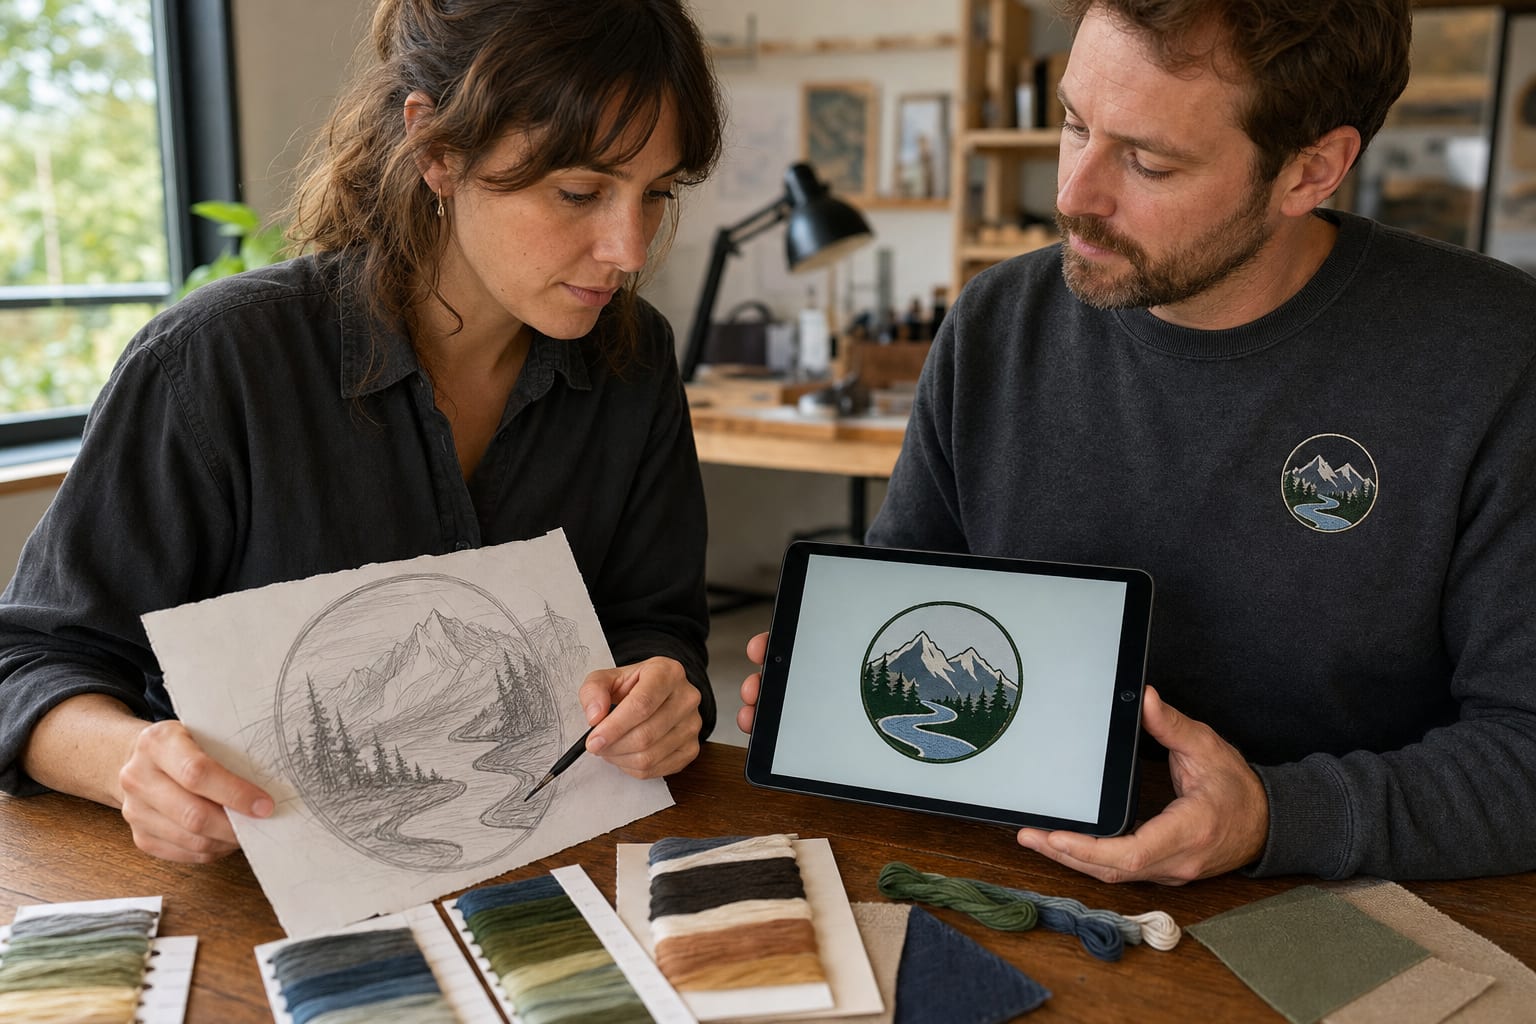
Embroidery is made from thread, not pixels. Very thin lines, tiny text, soft shadows, and complex color gradients may look good on a screen but become unclear when stitched into a small area.
Begin with the highest-quality logo file your team owns. Remove taglines that will be too small, combine unnecessary colors, and simplify fragile details. If the club does not have a logo, build an original emblem around one meaningful object, a short name, or a pair of initials.
Do not copy a professional team mark, brand logo, character, school seal, or another club's artwork without permission. An original design is safer and gives the group a more distinctive identity.
3. Choose a Practical Left-Chest Embroidery Size
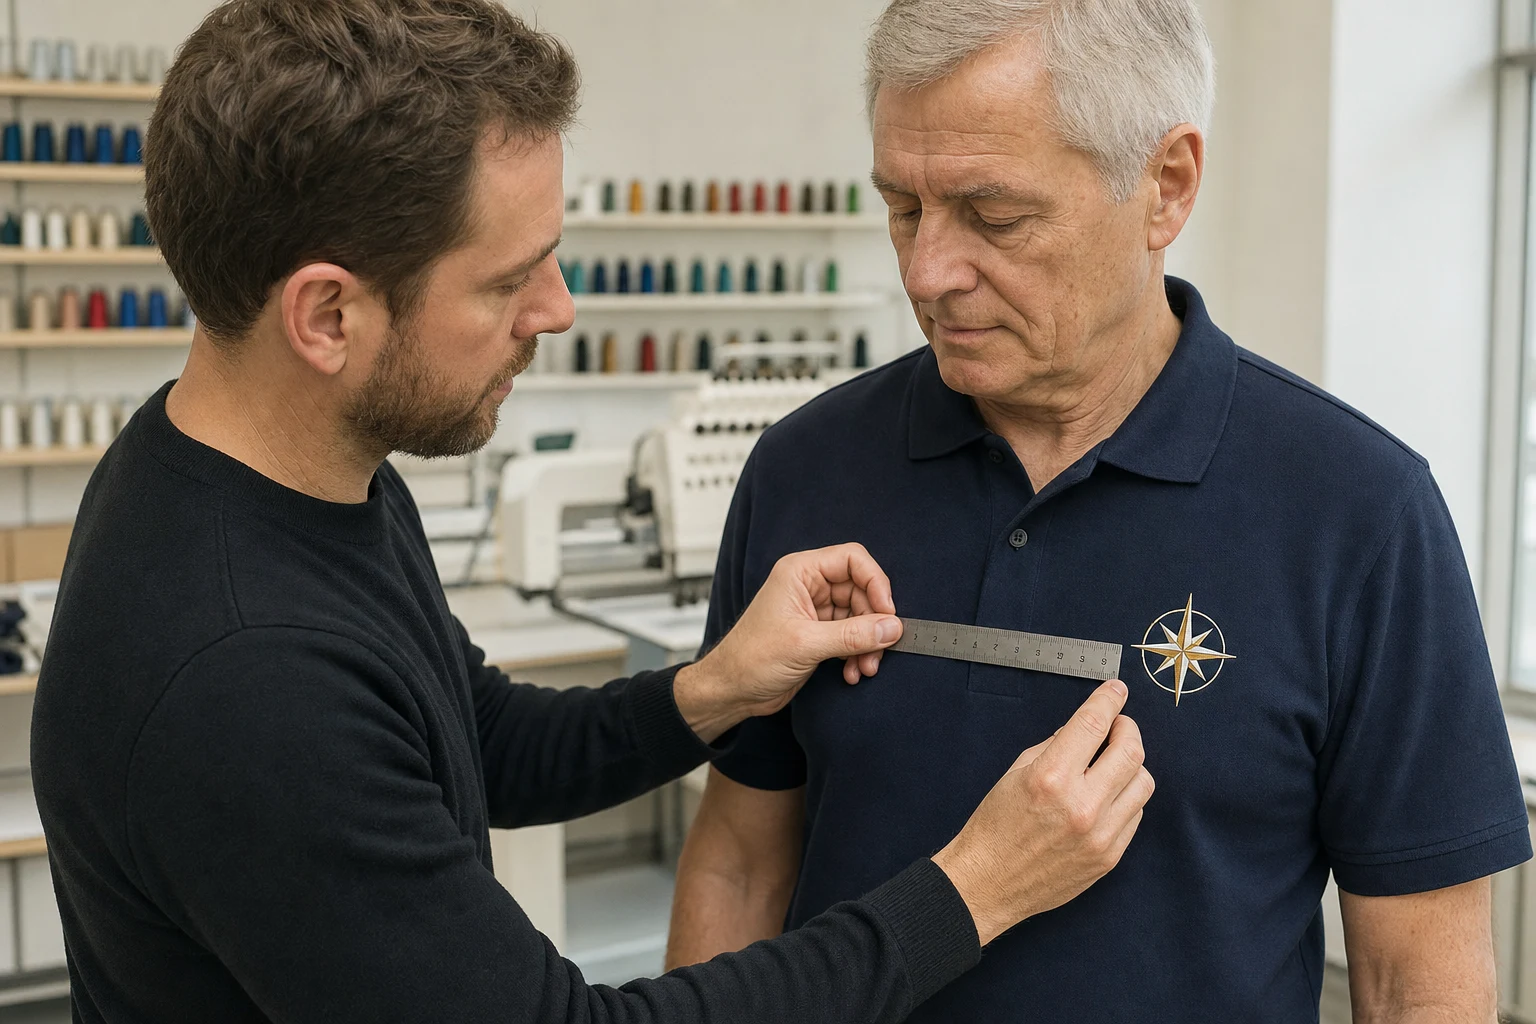
Left-chest embroidery is popular for custom team shirts because it looks professional without dominating the garment. Many compact designs fall around three to four inches wide, but there is no universal size that fits every logo and garment.
The correct size depends on the design shape, smallest letters, stitch density, garment size range, and whether the item has a zipper or pocket. A tall, narrow emblem may need different dimensions from a wide club name.
Ask the embroidery provider to recommend a finished size and show it on a garment mockup. Check how the design will look on both the smallest and largest sizes in the order。
4. Select Garment and Thread Colors With Enough Contrast
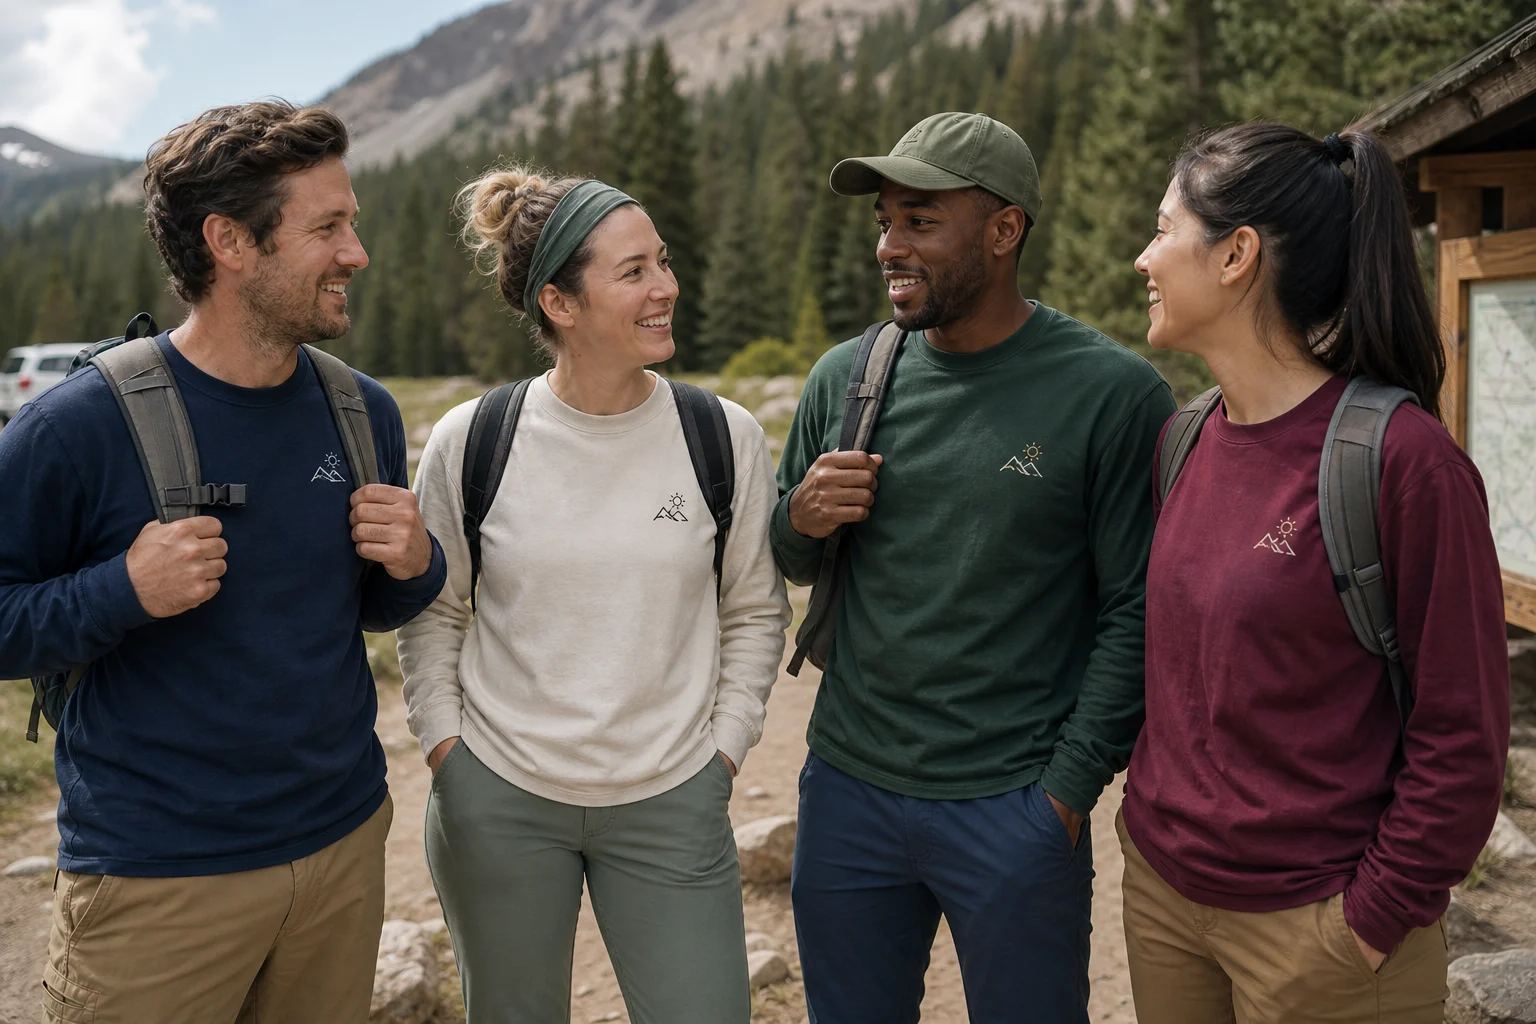
Good contrast makes a small embroidered logo easier to recognize. Light thread usually stands out on navy, charcoal, forest green, and burgundy, while darker thread works well on cream, light gray, sand, and pastel garments.
If the team wants several garment colors, test the same thread palette against every option. A tan logo may look elegant on navy but disappear on oatmeal. One solution is to limit the order to two garment colors; another is to approve a light and dark thread version of the same design.
Keep the number of colors purposeful. A restrained palette often looks more polished and can simplify future reorders.
You May Also Like

Custom Long Distance Couple Coordinates Embroidered T-Shirt - Anniversary Gift

Custom Guitar Chord Handwriting Embroidered T-Shirt - Personalized Music Gift

Custom First Marathon Route Special Date Embroidered T-Shirt - Personalized Marathon Runner Gift
5. Collect Sizes, Fits, and Style Preferences Accurately
Do not estimate sizes for other people. Share the garment's specific size chart and, when possible, provide a sample or measurements from the actual brand being ordered. Different blanks can fit very differently even when the size label is the same.
Use one order sheet with columns for member name, size, garment style, garment color, and personalization. Set a firm response deadline and ask each member to confirm their own entry.
For inclusive team apparel, check the complete size range before choosing the garment. If one style does not serve the entire group, select compatible alternatives with similar colors and fabric weights.

6. Add Individual Names Without Losing a Unified Look
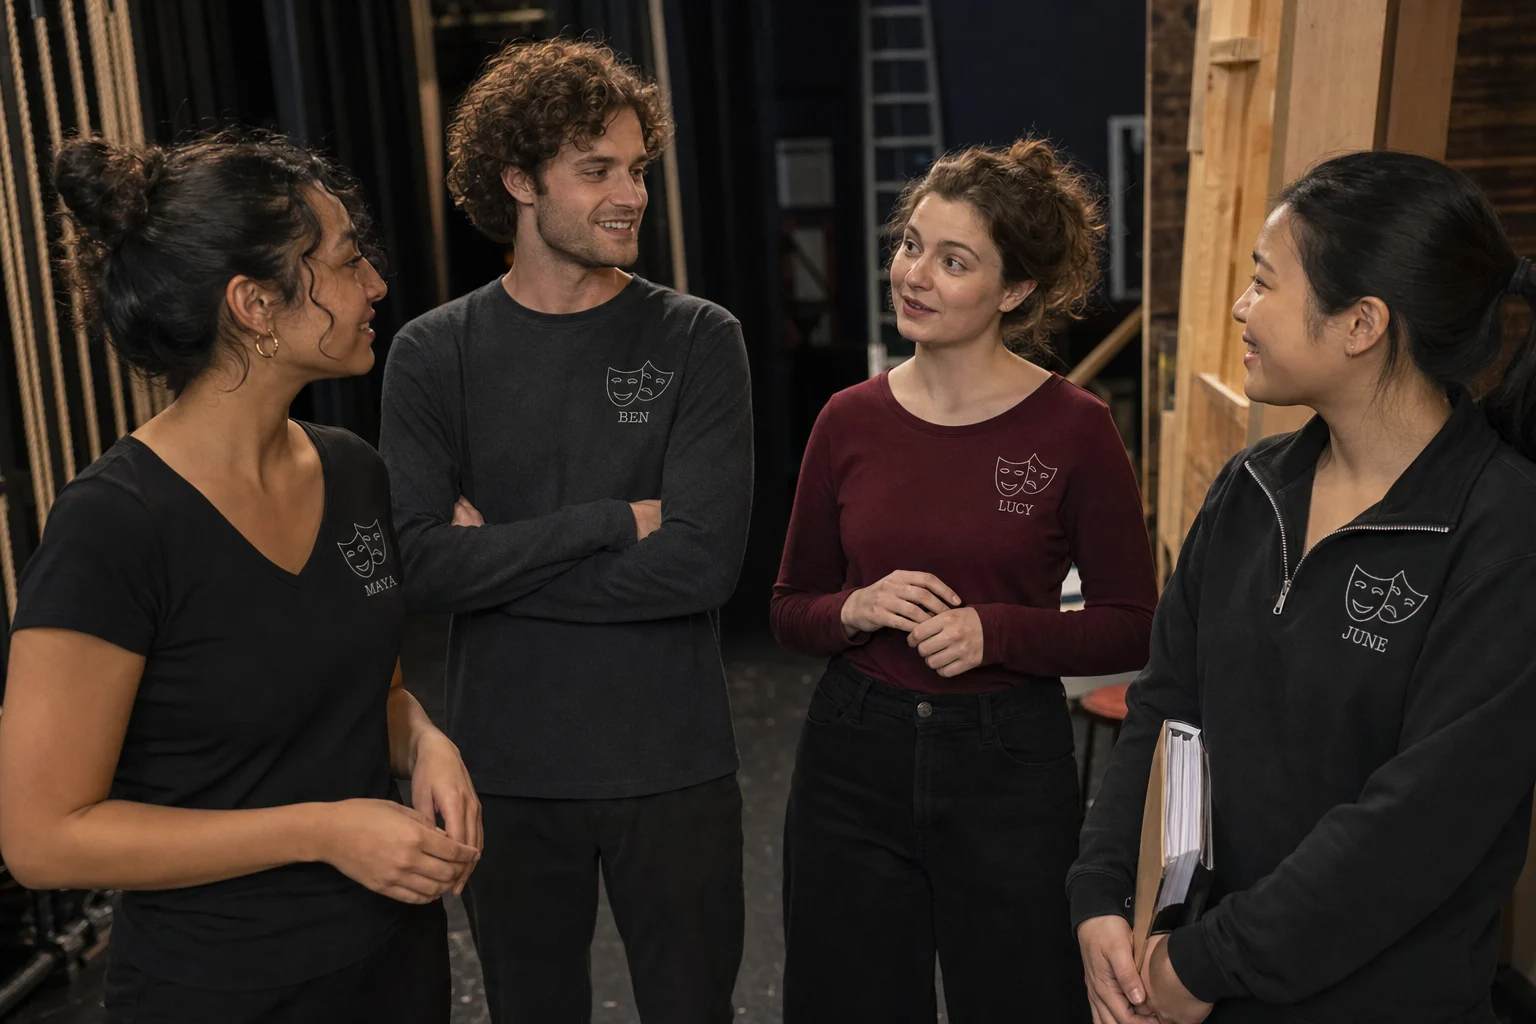
Personalized team shirts can help customers, event guests, or new members identify people. Keep the shared club logo consistent, then place a short first name or role directly beneath it within the same left-chest design area.
Use one font, thread color, and capitalization style for every member. Decide in advance whether the team will use first names, last names, nicknames, or roles. Then check spelling before submitting the order.
Individual names often affect pricing and production setup, so ask for a clear quote. Members who prefer privacy should be allowed to order the shared logo without a name.
7. Review the Embroidery Proof Before Production
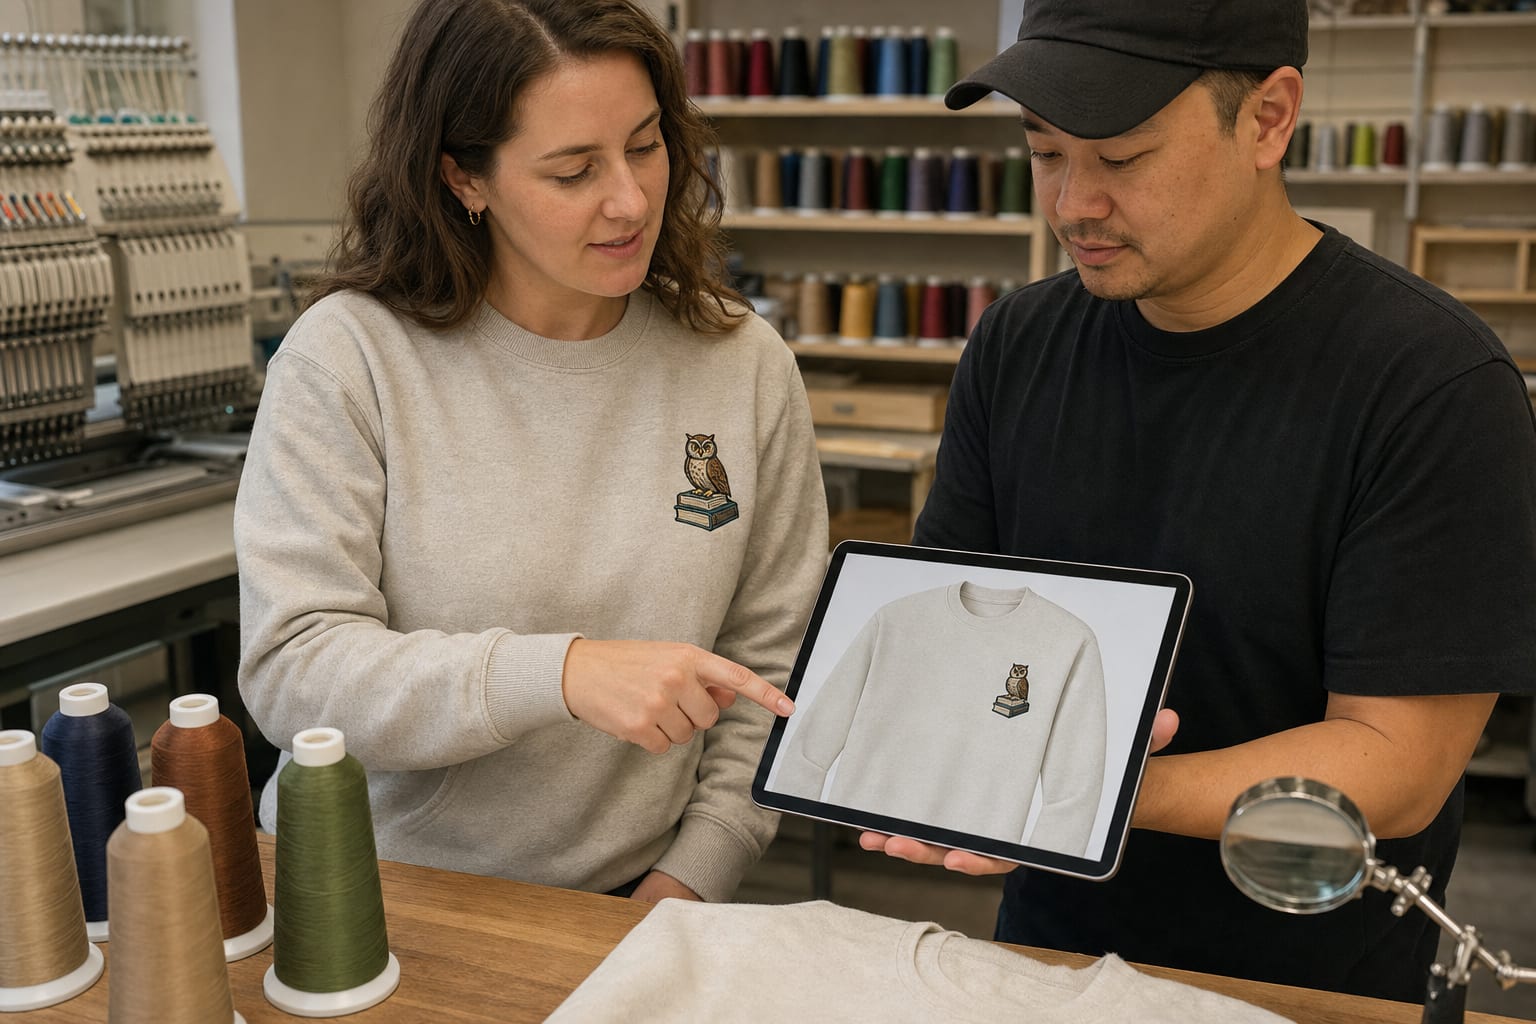
A proof is the best time to catch errors. Review the logo shape, wording, spelling, thread colors, finished dimensions, and left-chest placement. Zoom in on small letters and narrow spaces, but also view the design at its real physical size.
If the artwork contains faces, vehicles, buildings, or fine illustration, confirm that the most recognizable features remain visible after simplification. For a new or complex design, ask whether a stitched sample is available before approving the full team order.
Do not approve a proof simply because the deadline is close. A short review now can prevent an entire set of unusable garments.
8. Plan Distribution and Future Reorders
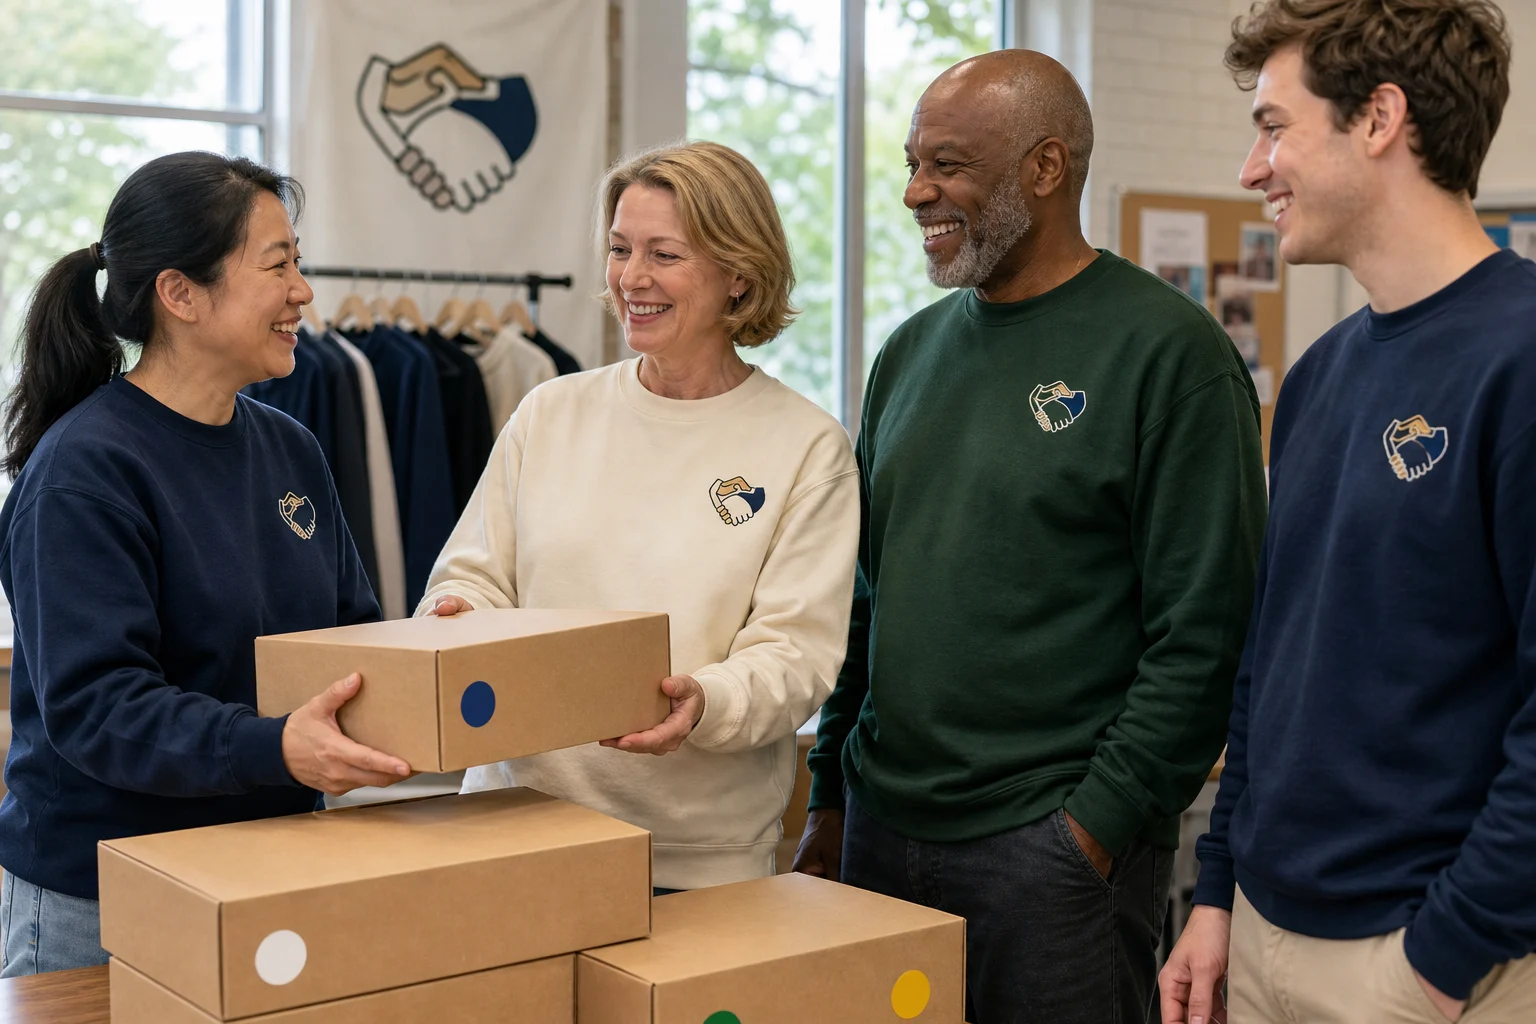
When the order arrives, sort items by the original order sheet before distributing them. Check quantities, sizes, colors, names, and visible stitching. Keep packaging labels with the garments until every member has received the correct item.
Save the approved artwork, thread-color references, garment model, supplier information, and final order sheet. Ask whether the embroidery file will remain available and whether a minimum quantity applies to later reorders.
This record matters when a new member joins, one shirt is damaged, or the club needs another batch next season. Consistent reorders are much easier when the original specifications are documented.
Small-Team Embroidery Order Checklist
Before paying the deposit or approving production, confirm the following:
- The team owns or has permission to use the artwork.
- The logo has been simplified for embroidery.
- Every garment color provides adequate thread contrast.
- Each member confirmed size, fit, style, and personalization.
- All names and roles were checked by a second person.
- The proof shows the correct left-chest placement and finished dimensions.
- Production time and delivery date are in writing.
- The reorder policy and any minimum quantity are understood.