
A wedding photo captures more than formal clothing and flowers. It may preserve a private laugh, a first dance, the people who traveled to celebrate, or a quiet moment that the couple did not notice until they saw the gallery.
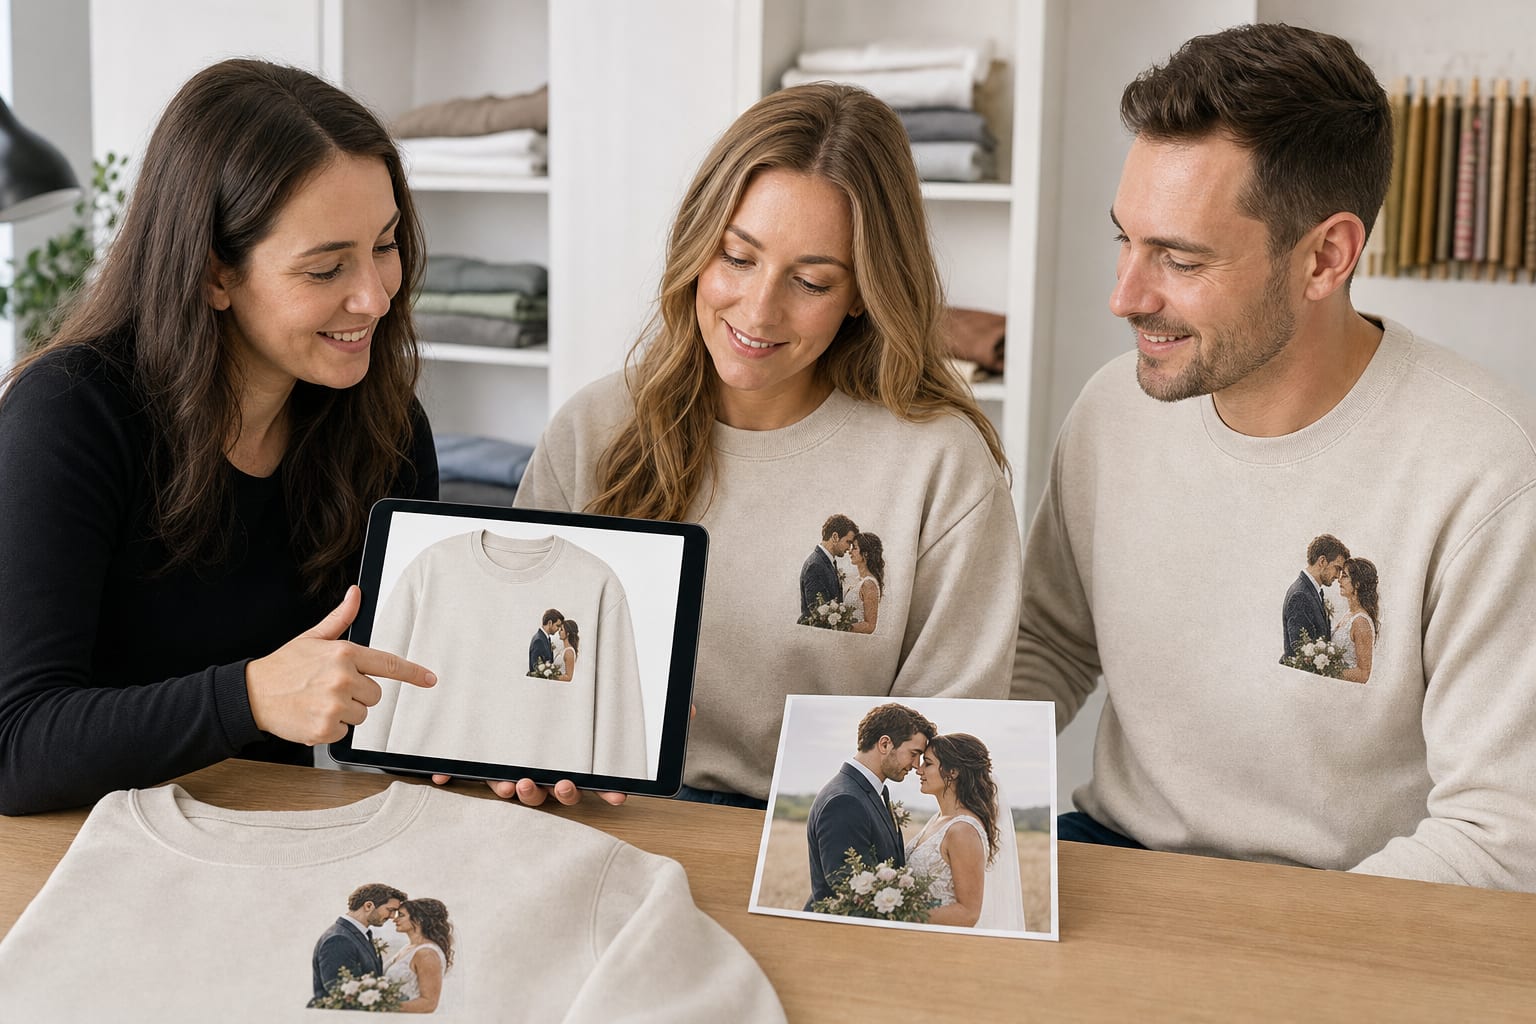
Turning that photo into a custom embroidered sweatshirt creates a personalized wedding or anniversary gift that can be worn instead of stored in an album. The most successful design does not copy every pixel. It simplifies the image into thread while preserving the pose, clothing, and small details that make the moment recognizable.
This guide explains the complete process, from selecting the best wedding photo to approving a stitch-ready left-chest portrait.
1. Start With the Original, Highest-Resolution Photo
Download the original wedding image from the photographer's gallery whenever possible. A screenshot from social media may look clear on a phone but contain too little information for faces, hands, flowers, and clothing edges.
Choose a photo that is sharp when enlarged. The couple should not be hidden by motion blur, heavy shadows, or another guest. Soft professional editing is usually fine, but intense filters can change skin tones and erase garment detail.
If the image was taken by a professional photographer, confirm that you have permission to use it for a custom product. Personal printing rights may be included in the wedding package, but the terms can vary.
2. Choose a Pose With Clear, Separated Silhouettes
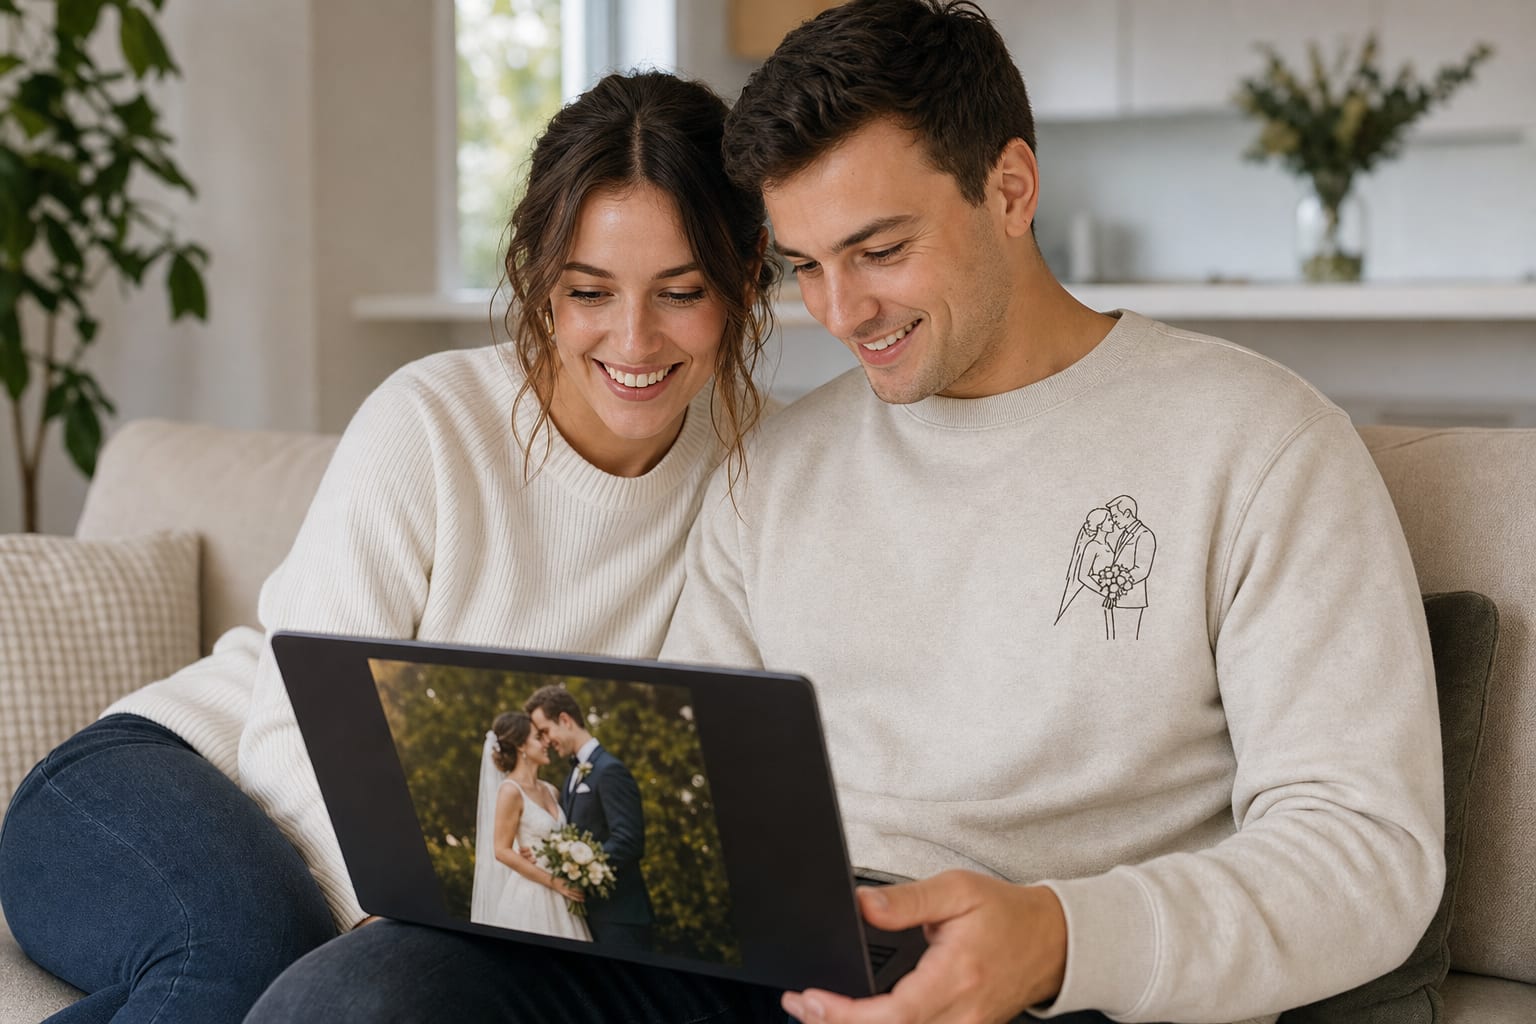
Embroidery reads best when the couple's body shapes are easy to distinguish. Side-by-side portraits, a gentle embrace, walking poses, and first-dance photos can work well when arms, faces, and clothing do not merge into a confusing cluster.
For small left-chest embroidery, a waist-up crop often preserves more useful detail than a distant full-body photo. If the dress train or entire venue is essential to the memory, consider a simplified full-body outline rather than trying to stitch small facial features.
Avoid photos where bouquets cover both people, one face is hidden, or hands overlap important clothing details. A natural pose can still be intimate without being difficult to translate into thread.
3. Decide What to Remove From the Background
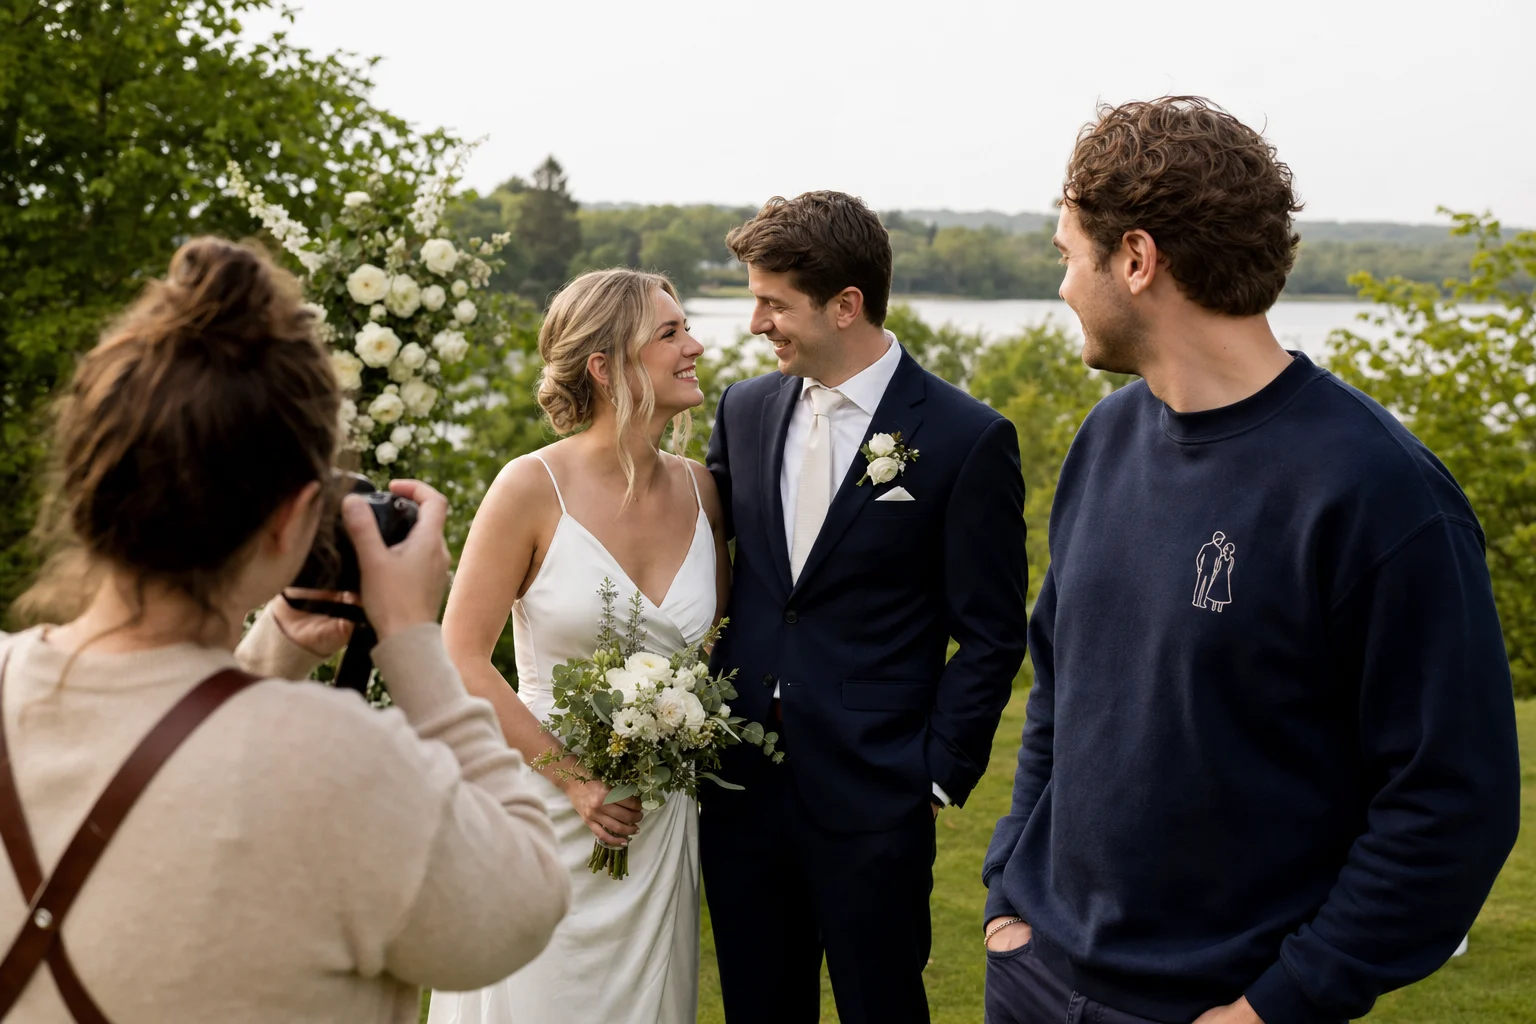
Most wedding venues contain chairs, signs, lights, floral installations, guests, or landscape details. These elements help tell the story in a photograph but can overwhelm a compact embroidered portrait.
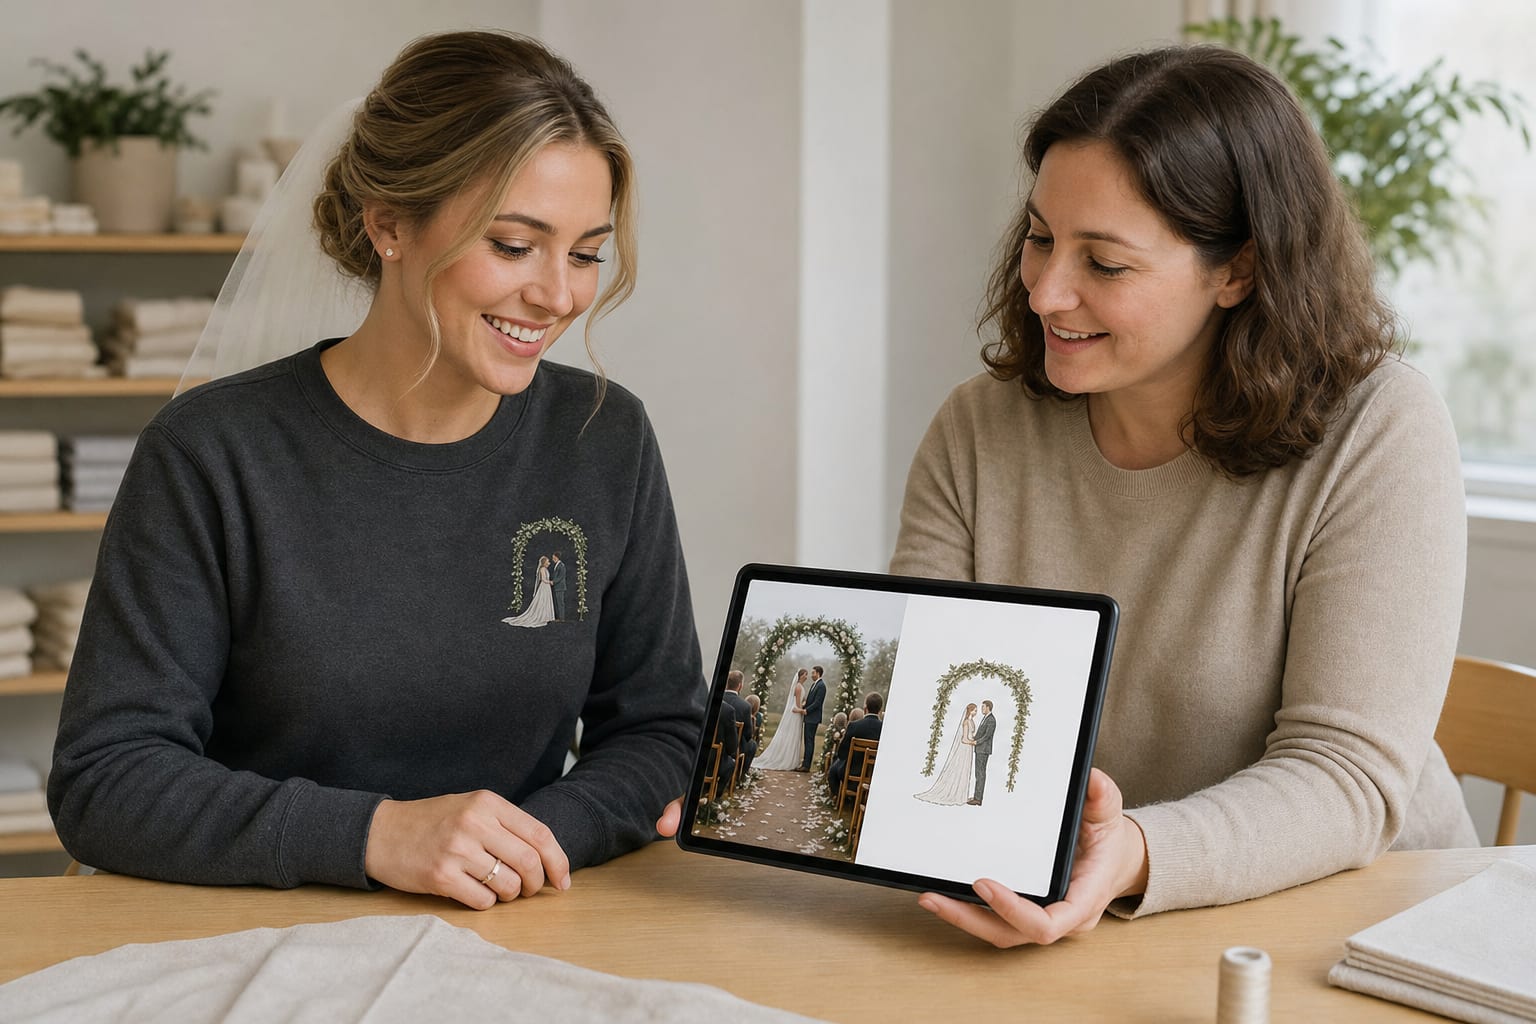
Keep only background features that carry real meaning. A simple ceremony arch, mountain outline, courthouse doorway, or a few flowers may help identify the wedding. Table settings, crowds, parked cars, and small decorations can usually be removed.
Ask the designer to prioritize the couple first. Negative space around the figures often makes the final custom wedding photo sweatshirt look cleaner and remain easier to wear after the anniversary.
4. Select an Embroidery Portrait Style
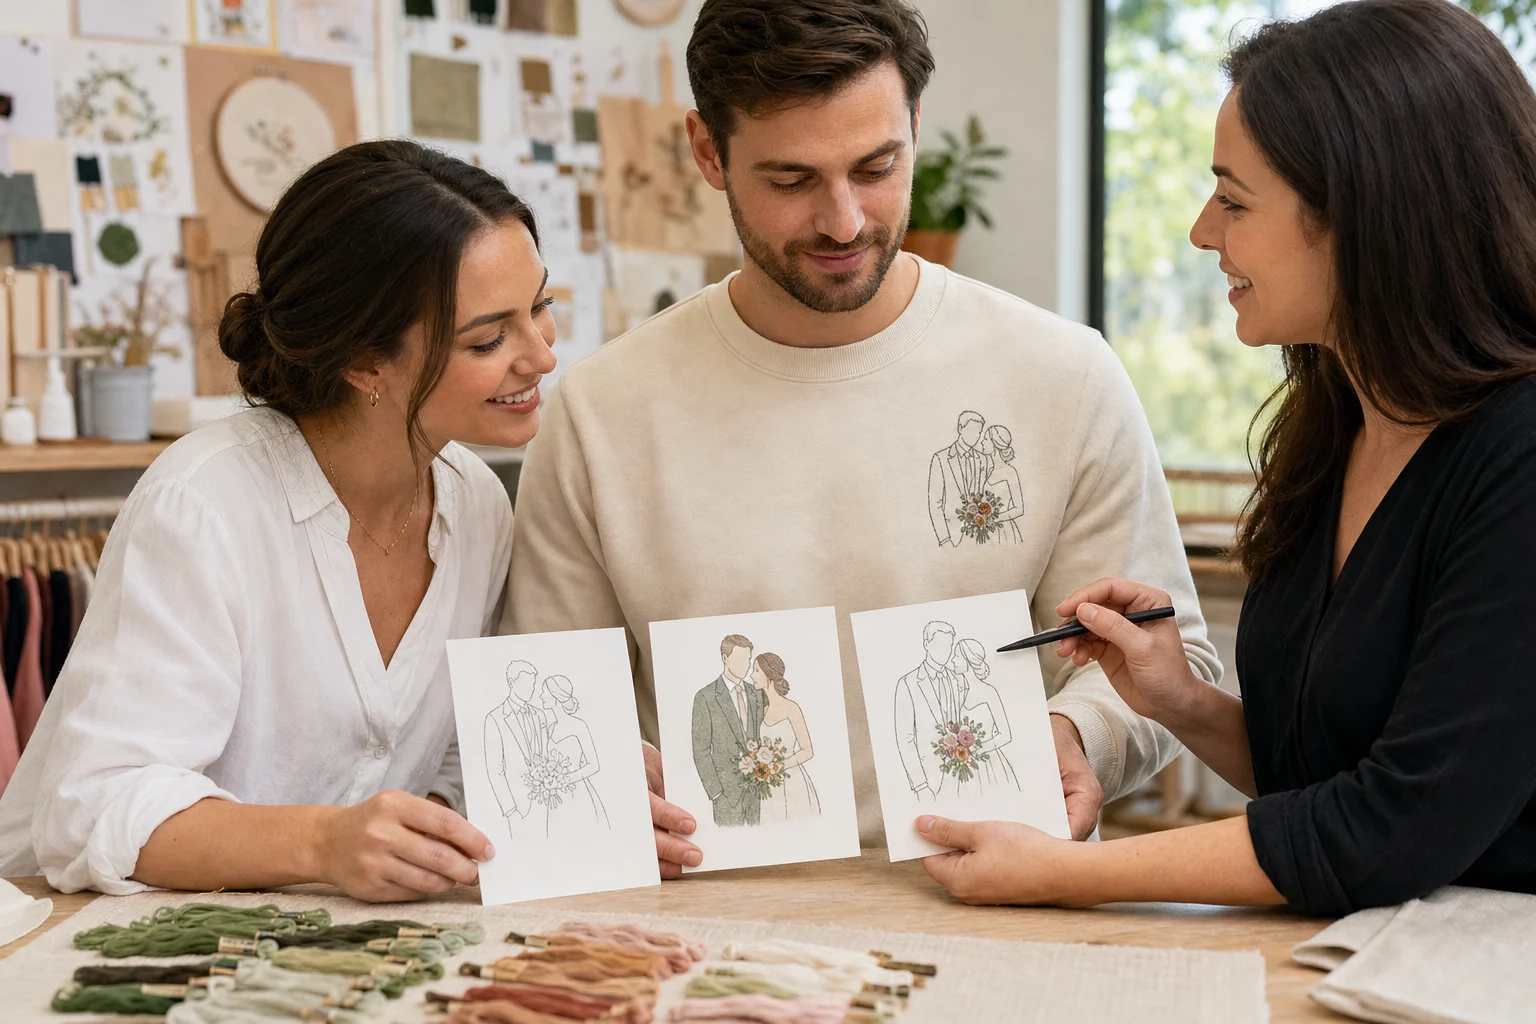
An outline portrait uses a limited number of clean stitched lines to show pose, hair, clothing, and bouquet shape. It is a strong choice for small designs, black-and-white photos, low-resolution images, and couples who prefer a subtle look.
A color portrait uses more thread shades to suggest skin, hair, formalwear, and flowers. It can feel closer to the original wedding photograph, but it still needs simplification. Tiny lace patterns, individual flower petals, jewelry, and subtle facial shading may not remain readable.
A third option combines a mostly neutral outline with one or two color accents, such as the bouquet, tie, or wedding flowers. This often balances recognition with everyday wearability.
5. Match Sweatshirt and Thread Colors Carefully
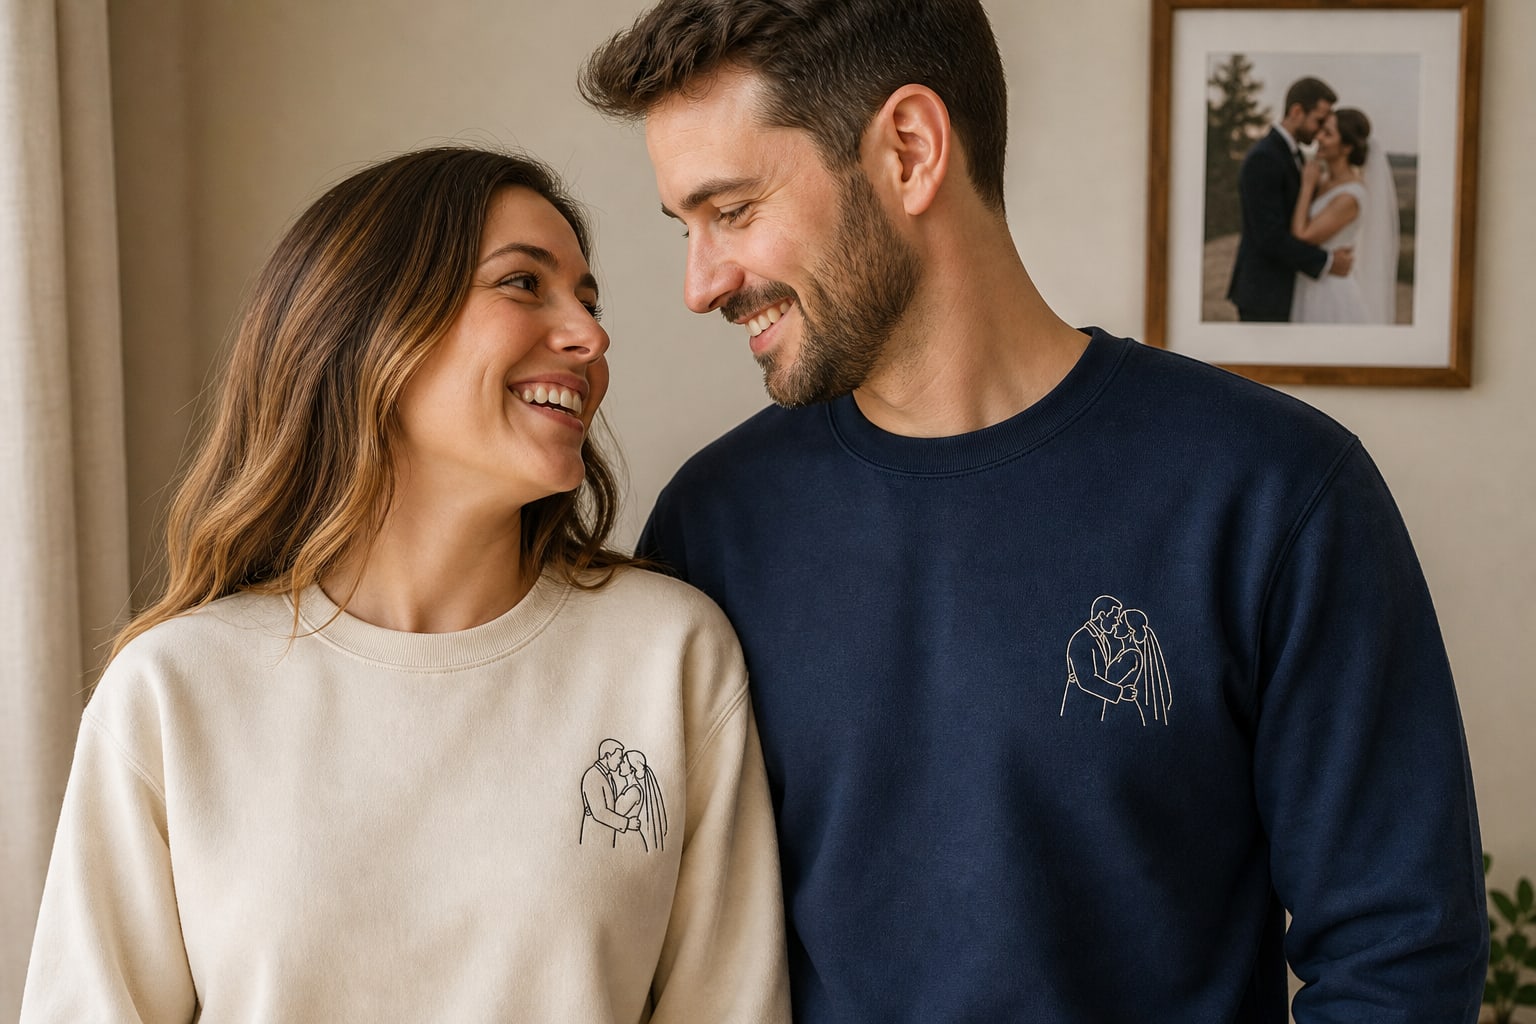
Choose a sweatshirt color that creates enough contrast with the portrait. Dark linework stands out on cream, oatmeal, sand, and light gray. Light thread is easier to see on navy, charcoal, forest green, black, or burgundy.
Consider the wedding palette, but do not feel required to copy it exactly. A neutral sweatshirt is usually easier to style and keeps attention on the embroidered couple. If the wedding dress is light, the designer may use a darker outline rather than trying to fill the entire dress with white thread.
Ask to see the artwork on the exact garment color before approval. Thread that looks distinct on a digital white background may disappear on similar-colored fabric.
You May Also Like

Custom Couple Photo Outline Embroidered Hoodie — Valentine's Day Gift for Partner

Custom Couple Photo Embroidered Hoodie — Wedding & Engagement Keepsake Gift

Custom Couple Portrait Outline Embroidered T-Shirt – Personalized Photo Sweatshirt for Valentine’s Day
6. Crop and Size the Portrait for the Left Chest
A left-chest wedding portrait should feel intentional, not squeezed into a small square. The artist may crop from the waist up, bring the couple slightly closer together, or remove wide empty space while preserving the original pose.
The best finished size depends on the number of people, orientation, smallest details, and sweatshirt size. A two-person outline can remain compact, while a portrait that includes children, pets, or a ceremony arch may need more width or additional simplification.
Check the mockup on both the smallest and largest sweatshirt sizes in the order. The portrait must remain only on the wearer's left chest and should not drift toward the center, neckline, pocket, or underarm.
7. Add a Date, Initials, or Short Handwritten Detail
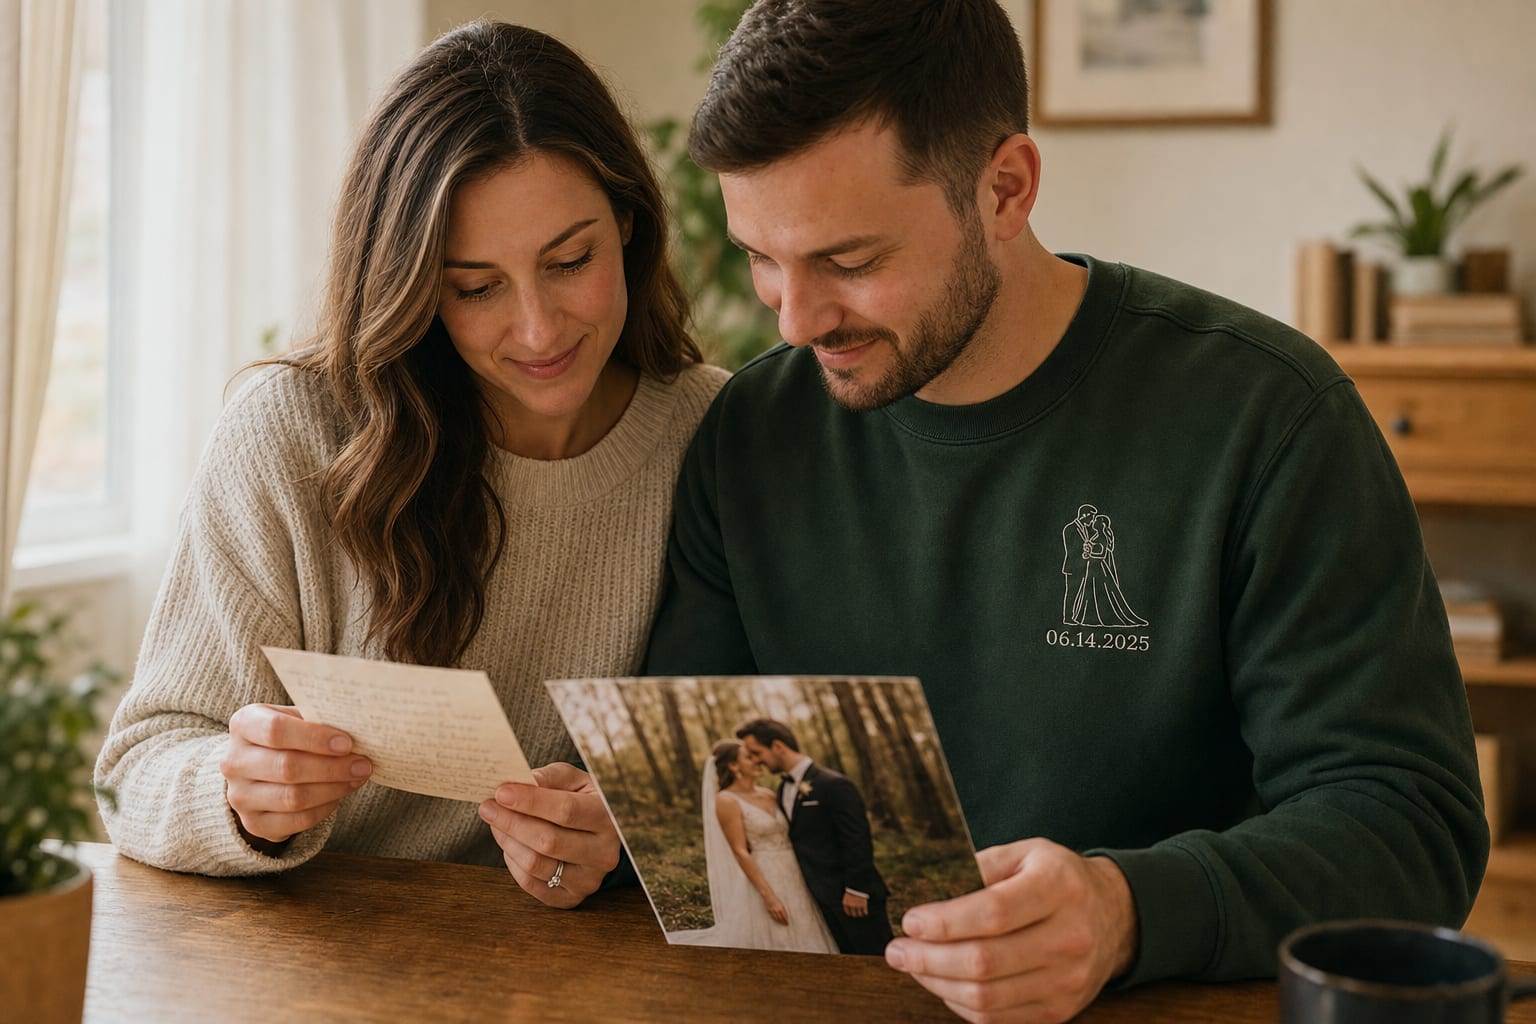
A small wedding date, shared initials, or a few words copied from a real handwritten note can make the sweatshirt more personal. Keep the text short and place it directly beneath the portrait so the design remains one compact left-chest unit.
Do not add every possible detail at once. A full date, location, long quotation, names, and decorative border can compete with the couple. Choose the one text element that carries the most meaning.
If using handwriting, upload a flat, well-lit image of dark ink on clean white paper. Very thin pen strokes may need to be strengthened before digitizing.
8. Review the Proof Before the Sweatshirt Is Stitched
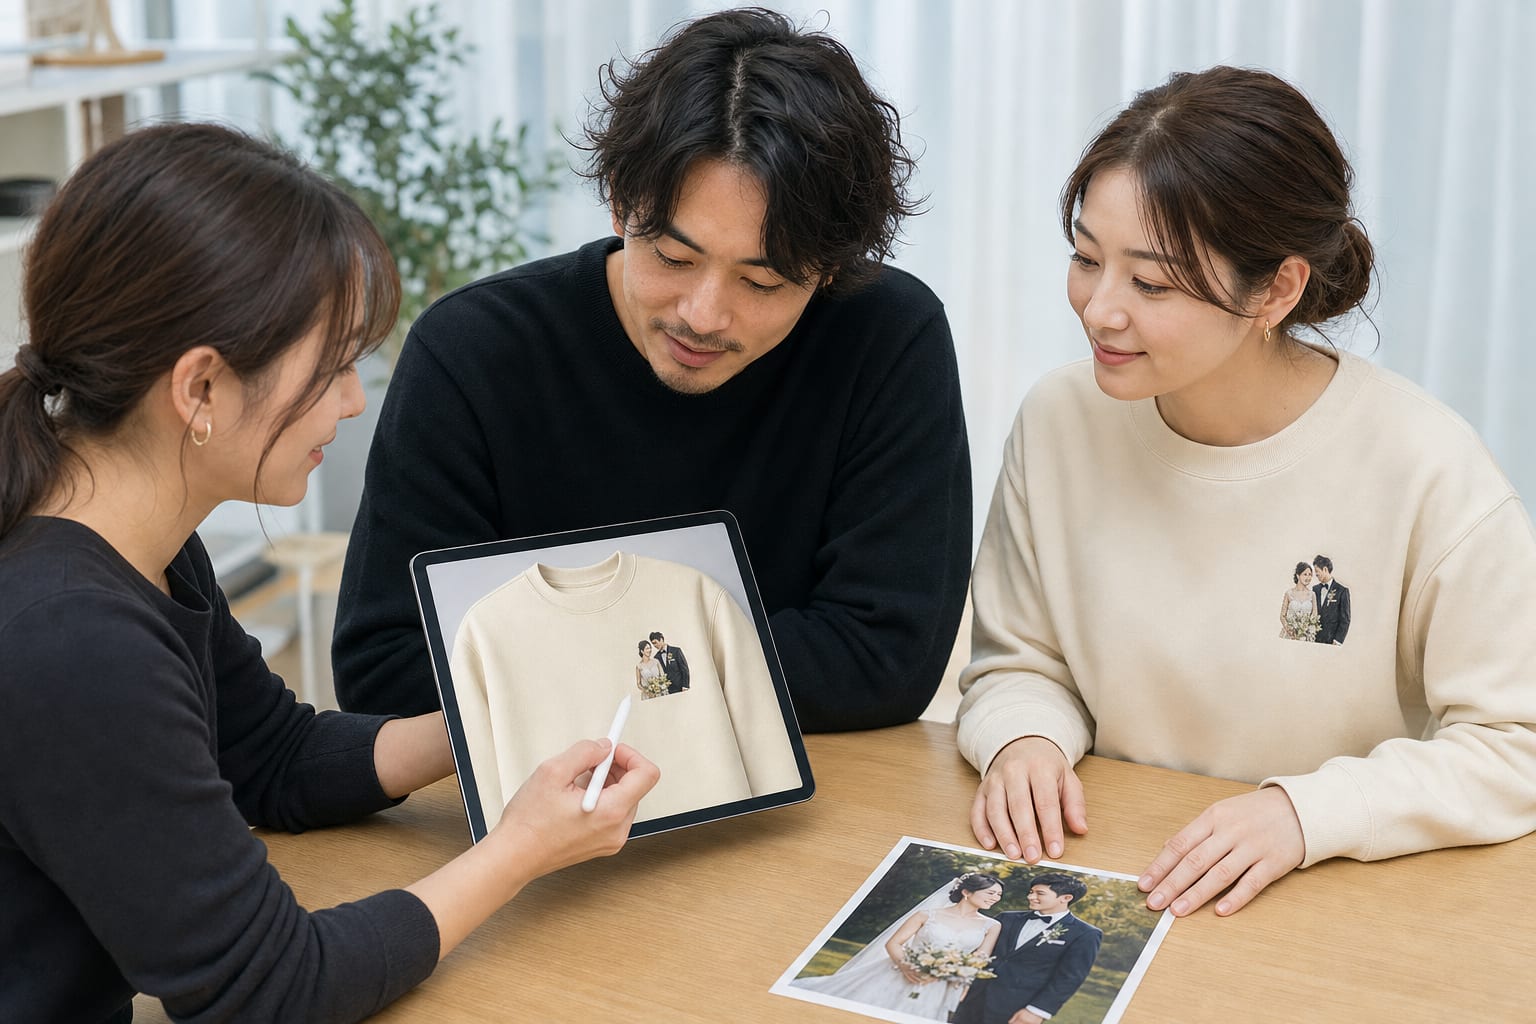
The digital proof is where the photograph becomes an embroidery plan. Compare the proof with the original image and check the couple's pose, hair outlines, clothing shapes, bouquet, meaningful accessories, thread colors, and left-chest placement.
Faces in small embroidery are interpretations rather than photographic reproductions. Focus on whether the figures feel recognizable as a couple and whether the most important visual cues remain clear. If one detail matters—such as a veil, wheelchair, cultural garment, military dress, or heirloom bouquet—identify it before approving production.
Also confirm garment size, color, production time, and delivery date. For weddings and anniversaries, order early enough to allow proof revisions instead of approving an inaccurate design under deadline pressure.
Wedding Photo Embroidery Checklist
- Use the original high-resolution file.
- Confirm personal-use permission when a photographer owns the image.
- Choose a pose with clear faces and separated body shapes.
- Decide which background details can be removed.
- Select outline, color, or limited-accent embroidery.
- Choose a sweatshirt and thread combination with strong contrast.
- Keep optional text short and meaningful.
- Review the final left-chest size and placement.
- Approve the proof only after checking important details.