
A custom car embroidered hoodie is only as clear as the photo behind the design. The embroidery artist can remove a driveway, simplify reflections, and reduce unnecessary details, but the original image still needs to show the vehicle's recognizable shape.
The best car photo for embroidery is usually sharp, well lit, and taken from an angle that reveals the features the owner remembers most. That might be the front grille of a restored classic, the long side profile of a sports car, or the rear shape of a family vehicle that appeared in years of vacation photos.
Use the following eight photo angles and shooting tips to create a reference image that translates cleanly into a small left-chest embroidered portrait.
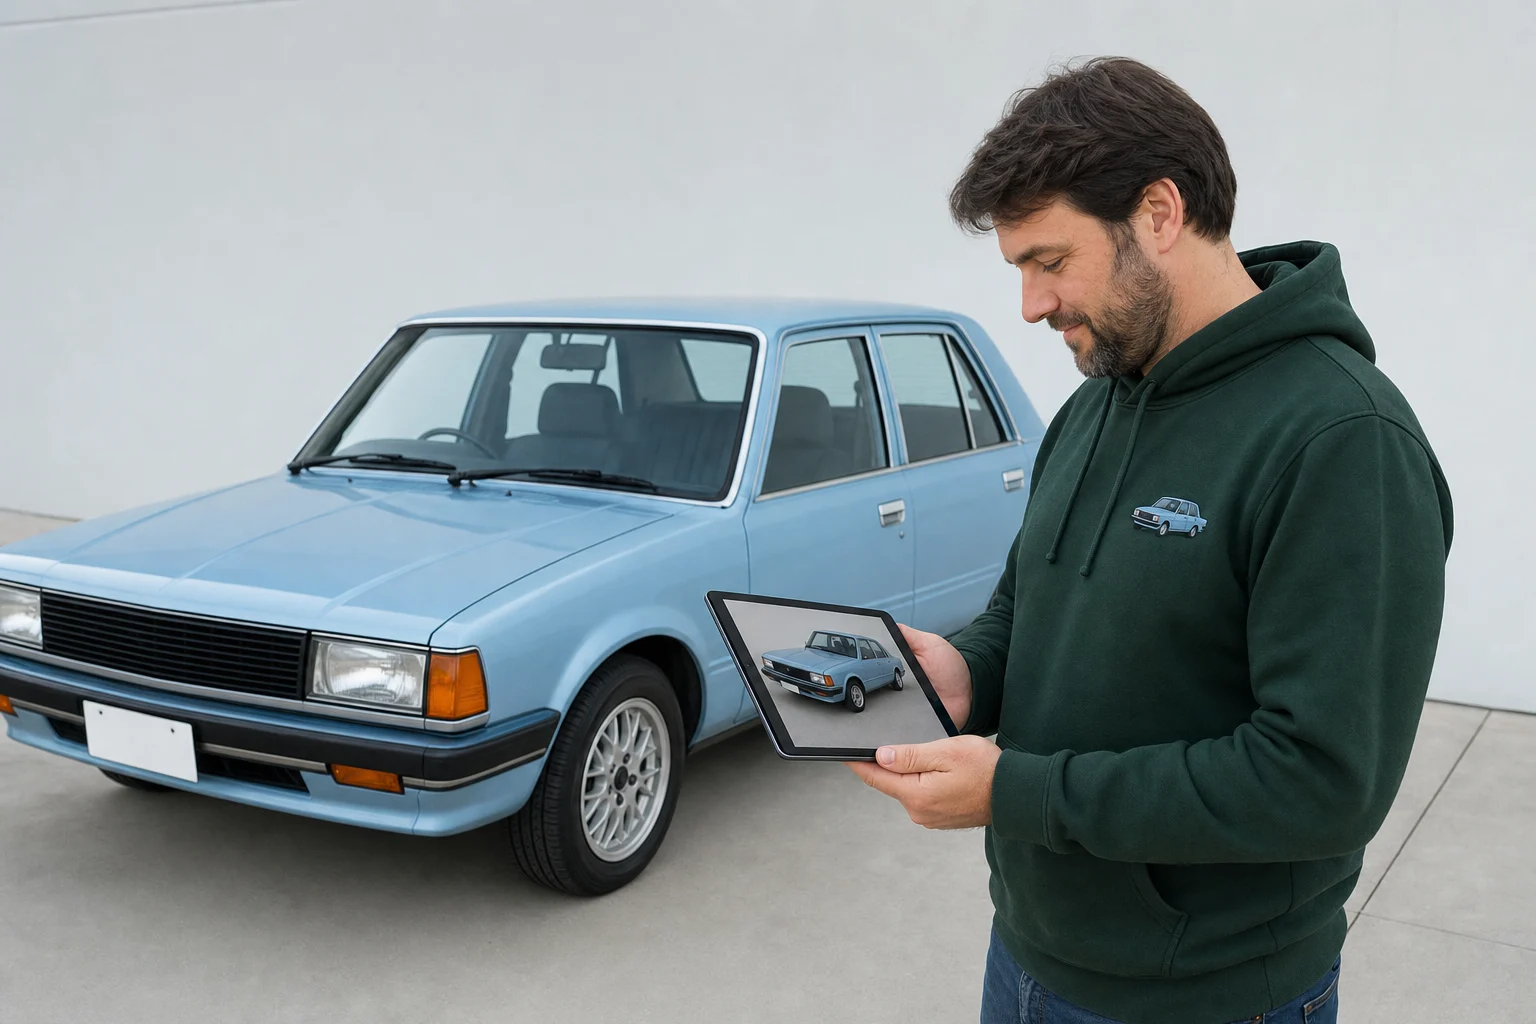
1. Front Three-Quarter Angle: The Best All-Purpose Choice
For most custom car embroidery, the front three-quarter angle is the safest starting point. Stand near one front corner of the car so the image shows the grille, headlights, hood, one full side, and both wheels on that side.
This angle gives the designer more information than a straight front or side photo. It shows the vehicle's overall proportions while preserving recognizable front-end details. It also creates natural depth, which helps a small embroidered car portrait feel dimensional without requiring complex shading.
Keep the camera around headlight or waist height and leave a little space around the entire vehicle. Do not crop the bumper, roof, or rear wheel. If you can upload only one reference photo, a clean front three-quarter image is often the best choice.
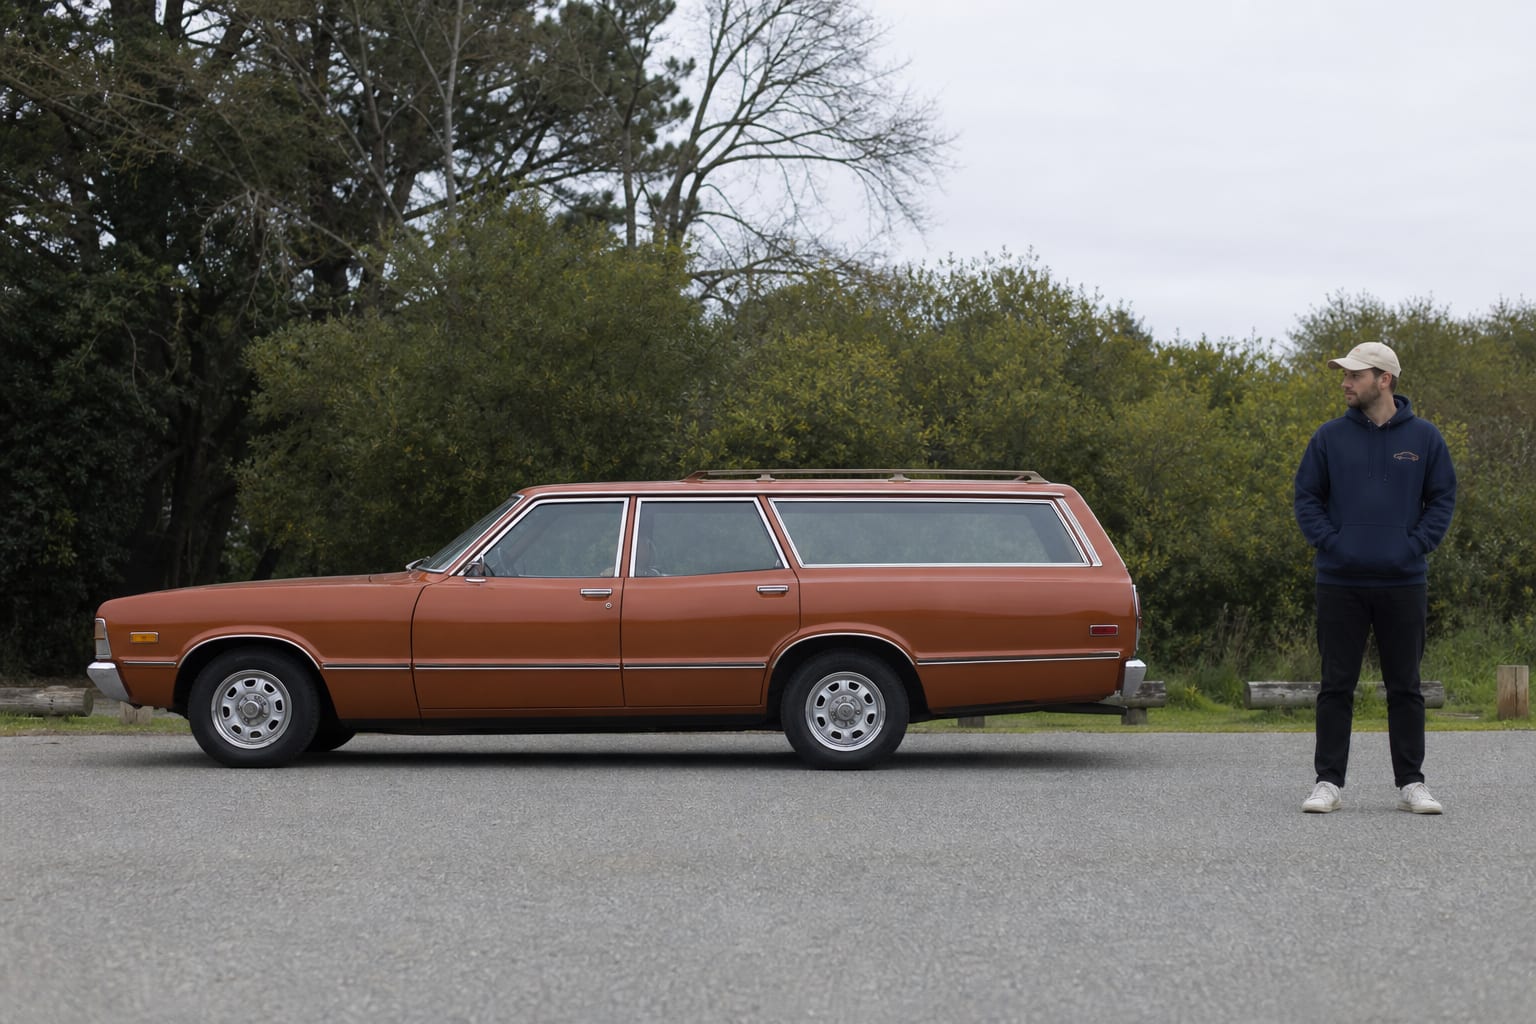
2. Side Profile: Best for a Distinctive Silhouette
A direct side profile works well when the vehicle is recognized by its length, roofline, wheelbase, bed shape, or body style. It is especially useful for coupes, station wagons, pickup trucks, vans, motorcycles, and lowered or lifted vehicles.
Stand far enough away to avoid wide-angle distortion, keep the camera level, and photograph the full vehicle from bumper to bumper. Turn the front wheels straight unless their angle is an important part of the desired pose.
Side views can be converted into clean outline embroidery with fewer overlapping forms. However, they may hide a distinctive grille or headlight design, so consider uploading a second front detail photo for the artist to reference.
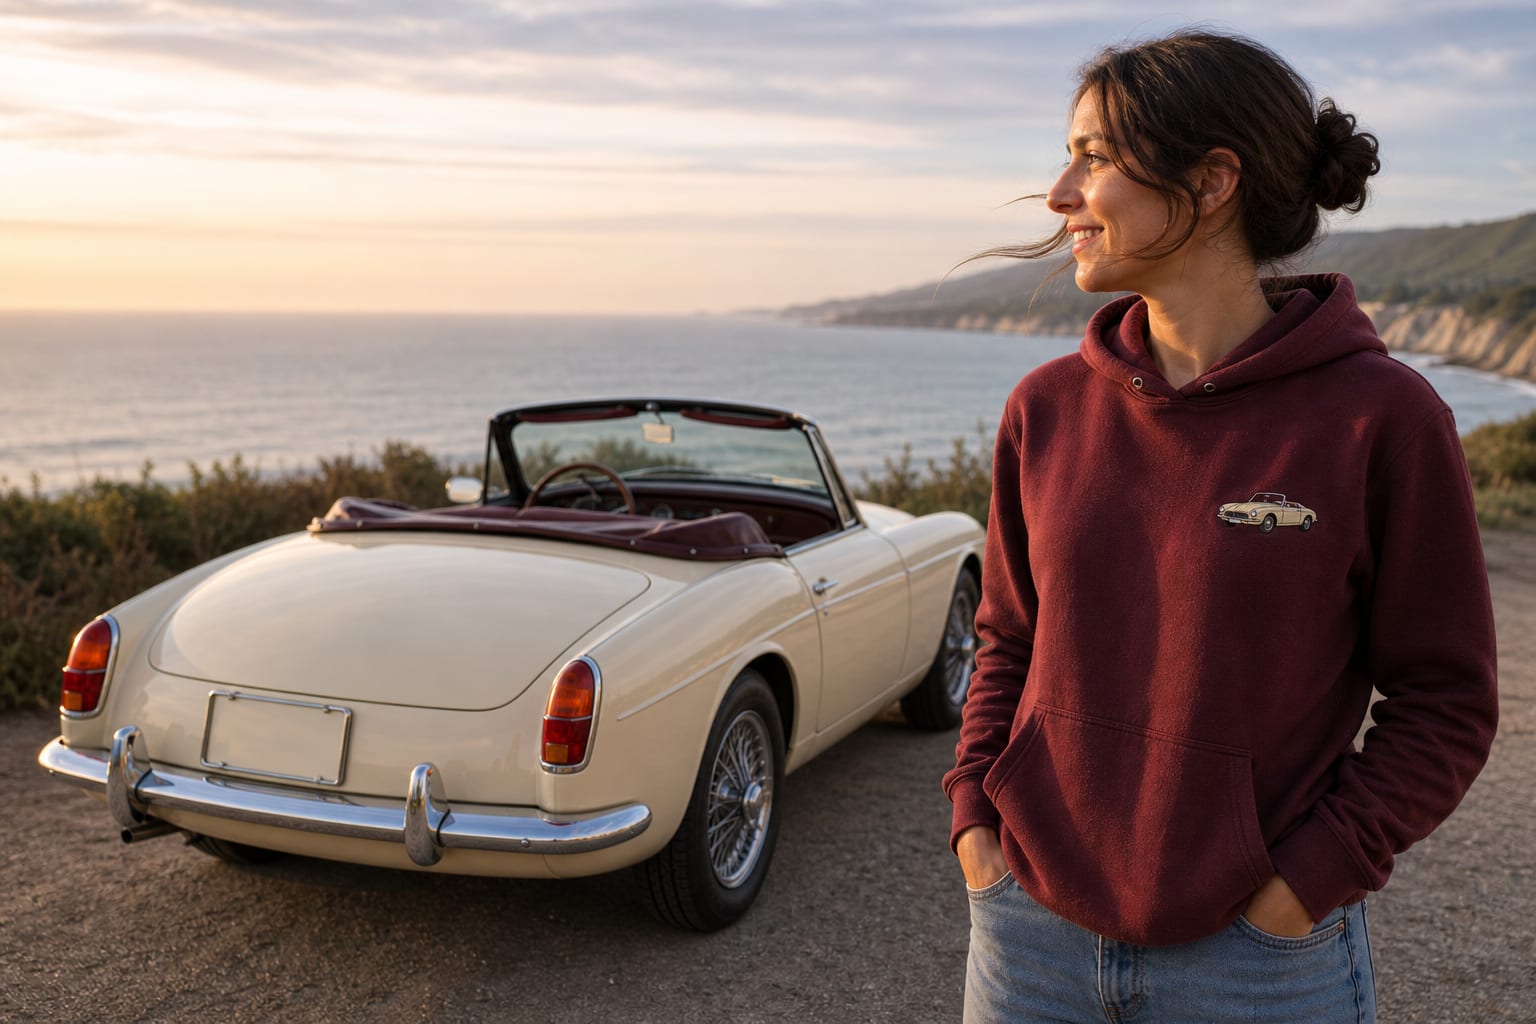
3. Rear Three-Quarter Angle: Show the Back-End Character
Some cars are most recognizable from behind. A rear three-quarter photo can highlight taillights, spoilers, tailgates, rear windows, exhaust placement, or the shape of a truck bed while still showing one side of the vehicle.
This angle is useful when the back of the car has been customized or when a meaningful photo—such as a road-trip departure or wedding getaway—naturally shows the vehicle driving away.
Before uploading the image, check the license plate. Ask for it to be removed, simplified, or replaced with a short authorized detail rather than exposing private information. Avoid including protected badges or decals unless you have permission to reproduce them.
4. Straight-On Front View: Best for a Signature Grille or Headlights
A centered front view can be powerful when the vehicle's identity comes from its grille, headlights, hood shape, or stance. Park on level ground, center the camera with the hood, and make sure both sides of the car appear symmetrical.
This angle works well for classic trucks, off-road builds, muscle-car-inspired vehicles, and cars with an unmistakable front expression. It can also create a bold, compact embroidery composition because the body does not stretch far across the chest.
The limitation is that the side shape and vehicle length are mostly hidden. If the artist needs to understand the full model, provide an additional three-quarter or side photo even if the front view will be used for the final design.
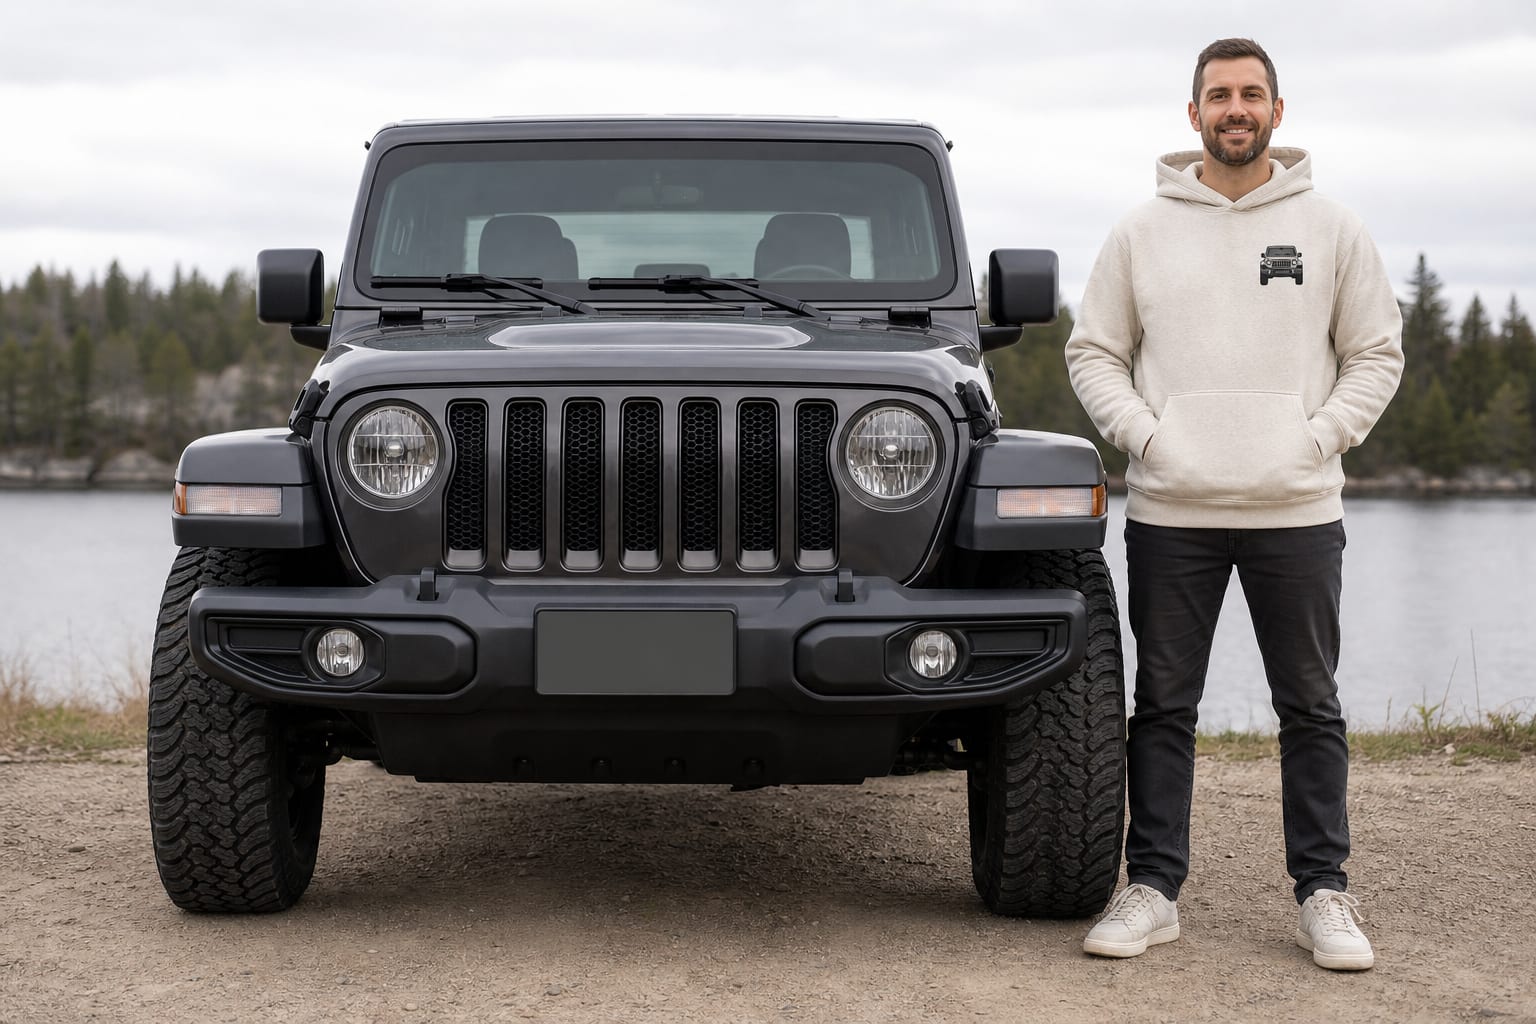
5. Detail Close-Up: Use It as a Supporting Photo
Close-ups of wheels, headlights, hood ornaments, paint details, roof racks, or custom modifications are valuable supporting references. They help the designer preserve the features that make one owner's car different from a standard version.
A detail photo usually should not be the only image submitted for a full-car embroidered hoodie. Without a complete view, the artist may have to guess the vehicle's proportions. Upload one clear overall photo first, then add two or three close-ups of meaningful modifications.
If the gift is intentionally about one detail—such as a distinctive steering wheel, front grille, or wheel design—a close crop can become the main embroidery. Keep the composition simple so it remains readable at left-chest size.
You May Also Like

Custom Car Outline Embroidered Hoodie — Personalized Car Lover Gift

Custom Vehicle Photo Embroidered Hoodie — Personalized Gift for Dad, Husband or Boyfriend

Custom First Car Outline Embroidered Hoodie — Personalized Keepsake Gift
6. Owner-and-Car Photo: Best When the Story Matters Most
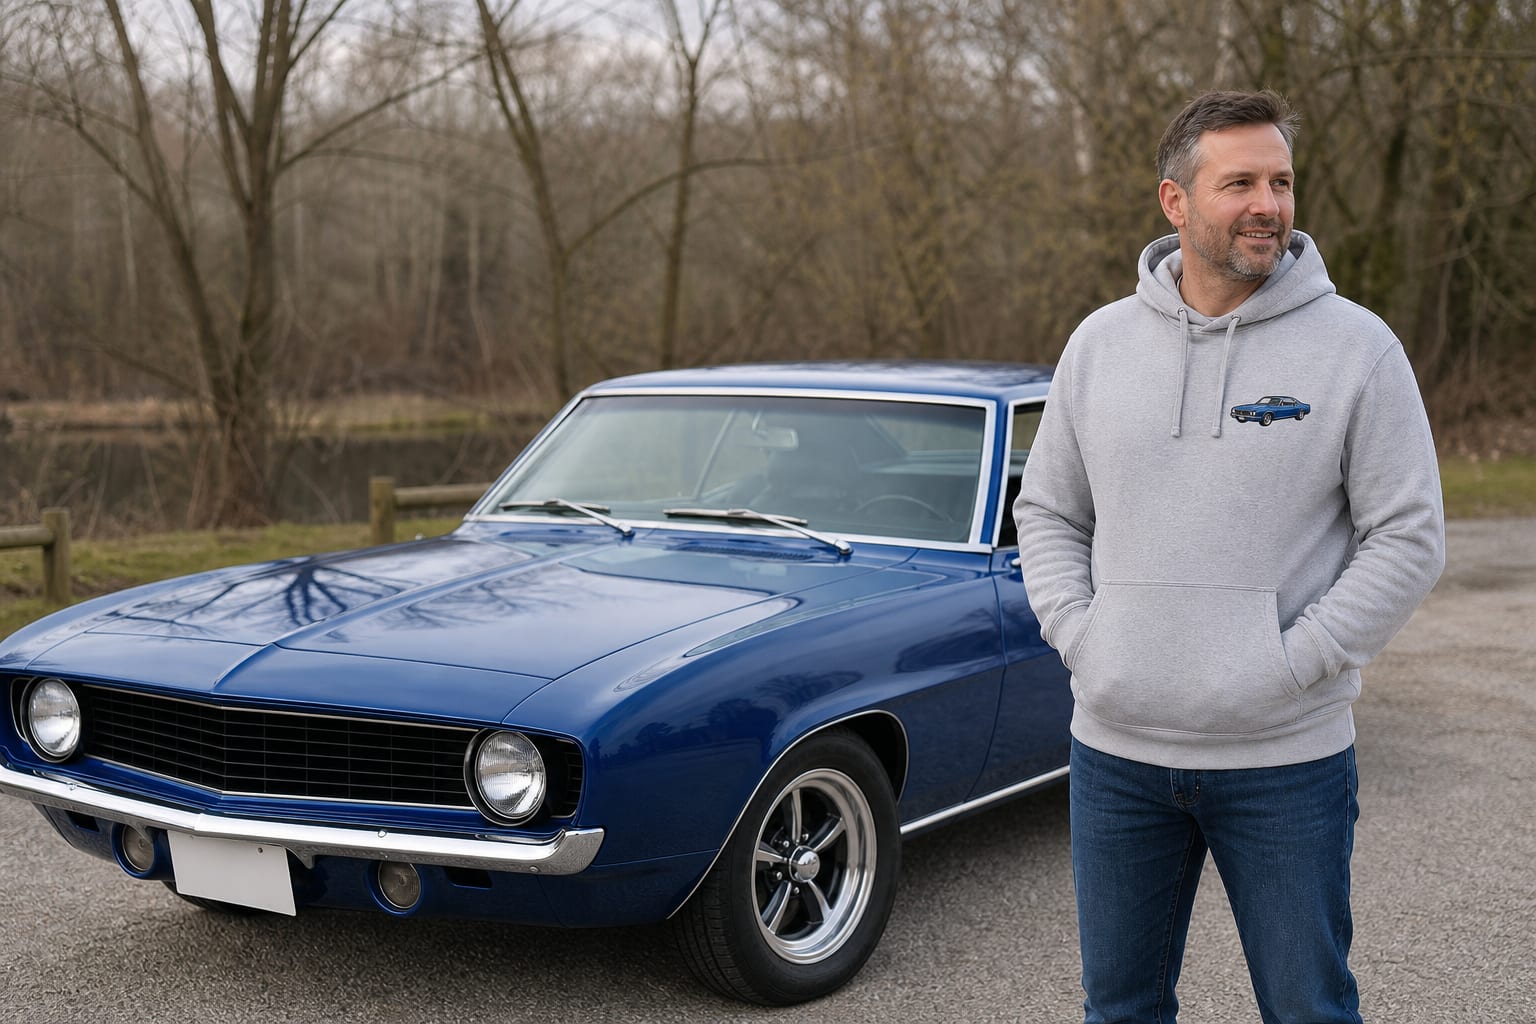
Sometimes the person and the vehicle belong in the same design. A parent beside a project car, a couple with their wedding getaway vehicle, or a teenager with a first car can carry more emotion than a car-only portrait.
Choose a photo in which the person's outline and the vehicle are both easy to see. Avoid poses where arms, shadows, or nearby objects merge with important car features. For small left-chest embroidery, a simplified person-and-car outline is usually clearer than detailed facial stitching.
If the person appears too small in the best vehicle photo, upload a separate closer portrait as a supporting reference. Ask the designer whether the two sources can be combined without making the final composition crowded
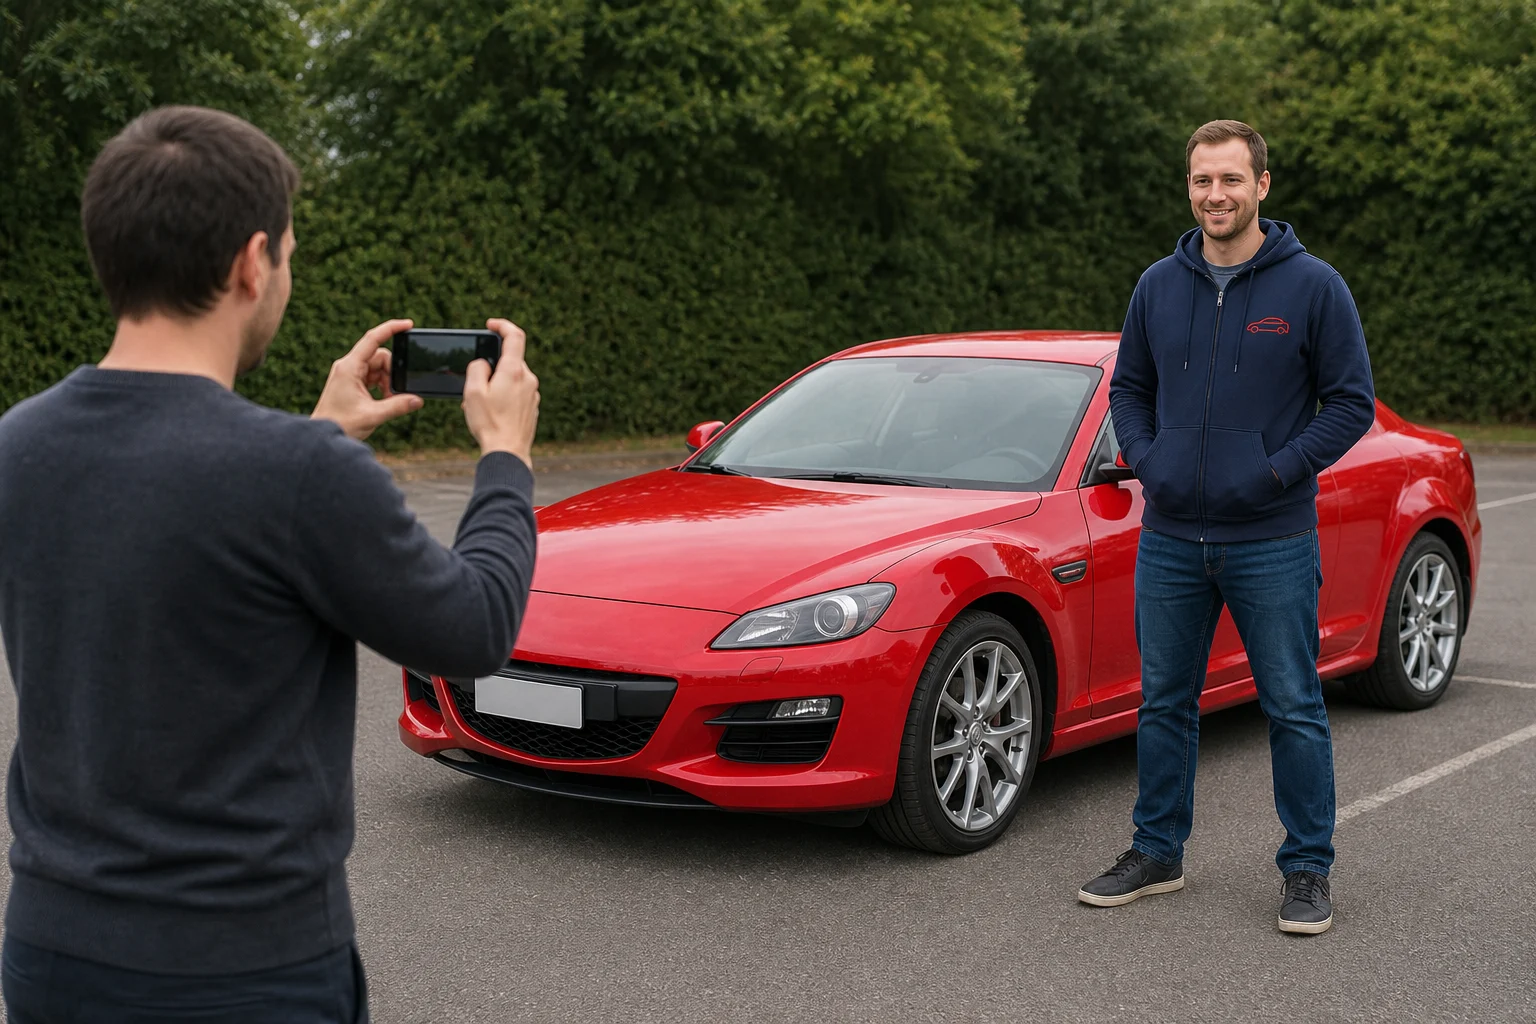
7. Camera Height and Distance: Avoid Extreme Distortion
Very low angles can make the front bumper look enormous, while photos taken too close with a wide-angle phone lens can stretch one corner of the car. Very high angles may hide the wheels and flatten the body.
For the most reliable reference, step back and use a normal phone camera setting rather than an ultra-wide mode. Hold the camera around headlight, waist, or chest height, depending on the vehicle. Keep vertical background lines reasonably straight.
A creative low angle can still work if that stance is the main memory you want to preserve. In that case, also upload a neutral reference photo so the designer can understand the true proportions before translating the dramatic image into thread.
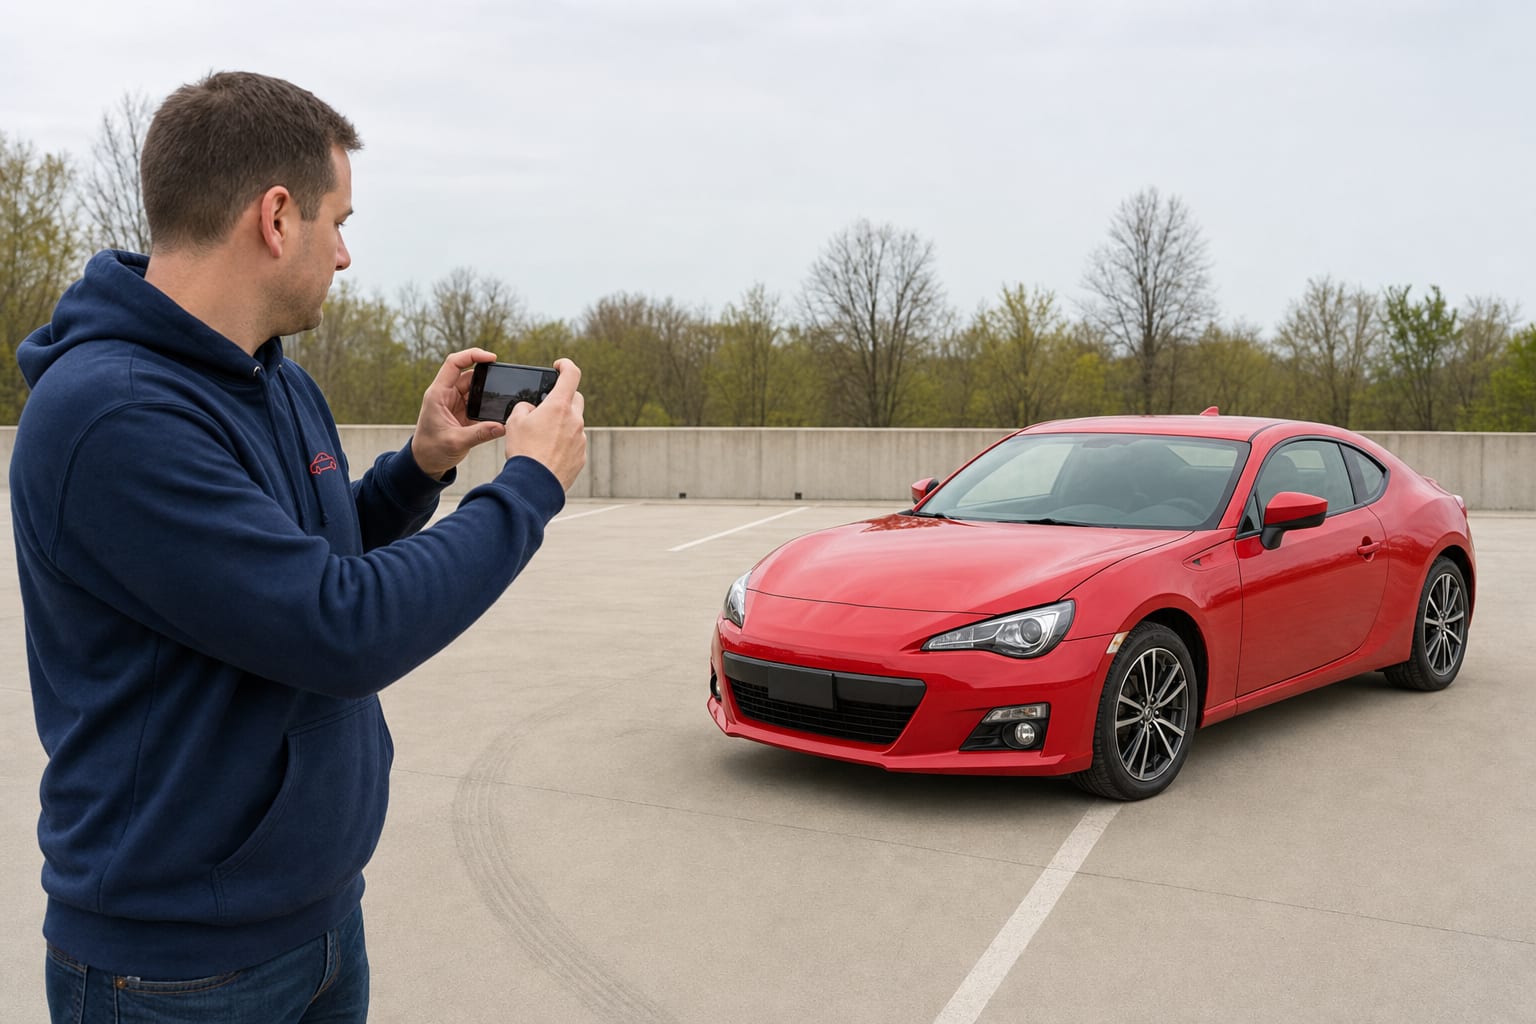
8. Lighting, Background, and Final Upload Checklist
Soft daylight is more useful than harsh midday sun or a dark garage. Photograph the car during bright overcast weather or in open shade, when the paint color and body lines remain visible without blown highlights or deep black shadows.
Move trash cans, hoses, people, and overlapping vehicles out of the frame when possible. A simple driveway, parking area, or open landscape is enough. The background does not need to be beautiful because it will usually be removed, but it should not hide the tires or vehicle outline.
Before uploading, confirm that the image is the original high-resolution file rather than a screenshot. Check that the whole vehicle is sharp, the paint color looks accurate, the wheels are visible, and no filter has changed the body lines. When in doubt, send several angles and identify which one should guide the final custom car embroidered hoodie.
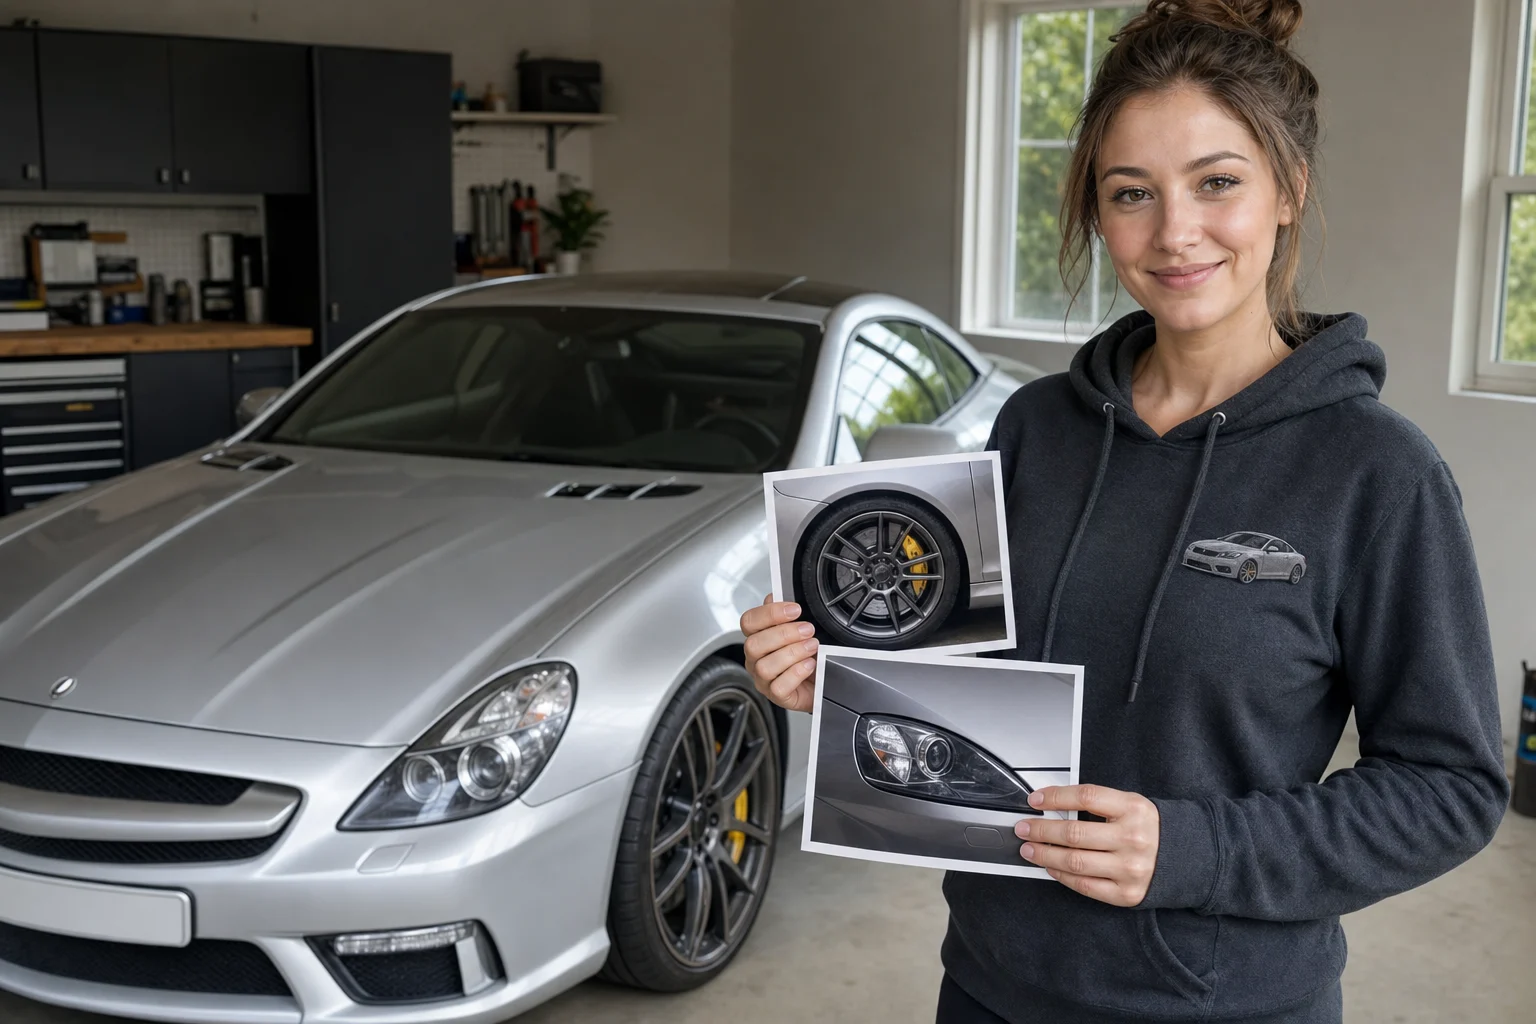
Quick Car Photo Checklist for Embroidery
- Use the original, highest-resolution file.
- Photograph the entire vehicle without cropping bumpers or wheels.
- Start with a front three-quarter angle when unsure.
- Keep the camera level and avoid ultra-wide distortion.
- Use soft daylight and show the true paint color.
- Remove background clutter and overlapping vehicles.
- Add close-ups of meaningful modifications.
- Hide private plate information and avoid unauthorized logos.
- Review the embroidery proof before stitching.