
Custom logo embroidered hoodies can help a small team look coordinated at work, volunteer events, club meetings, rehearsals, travel days, and community activities. A compact left-chest logo feels more polished than a large promotional graphic and remains easy to wear outside the group setting.
Small orders, however, leave less room for mistakes. One incorrect name, unsuitable hoodie fabric, or overly detailed logo can affect a meaningful percentage of the entire order. Before buying custom embroidered hoodies for a small business, club, school group, or volunteer team, use these eight steps to make the order more accurate and wearable.
1. Define the Purpose, Quantity, and Wearing Conditions
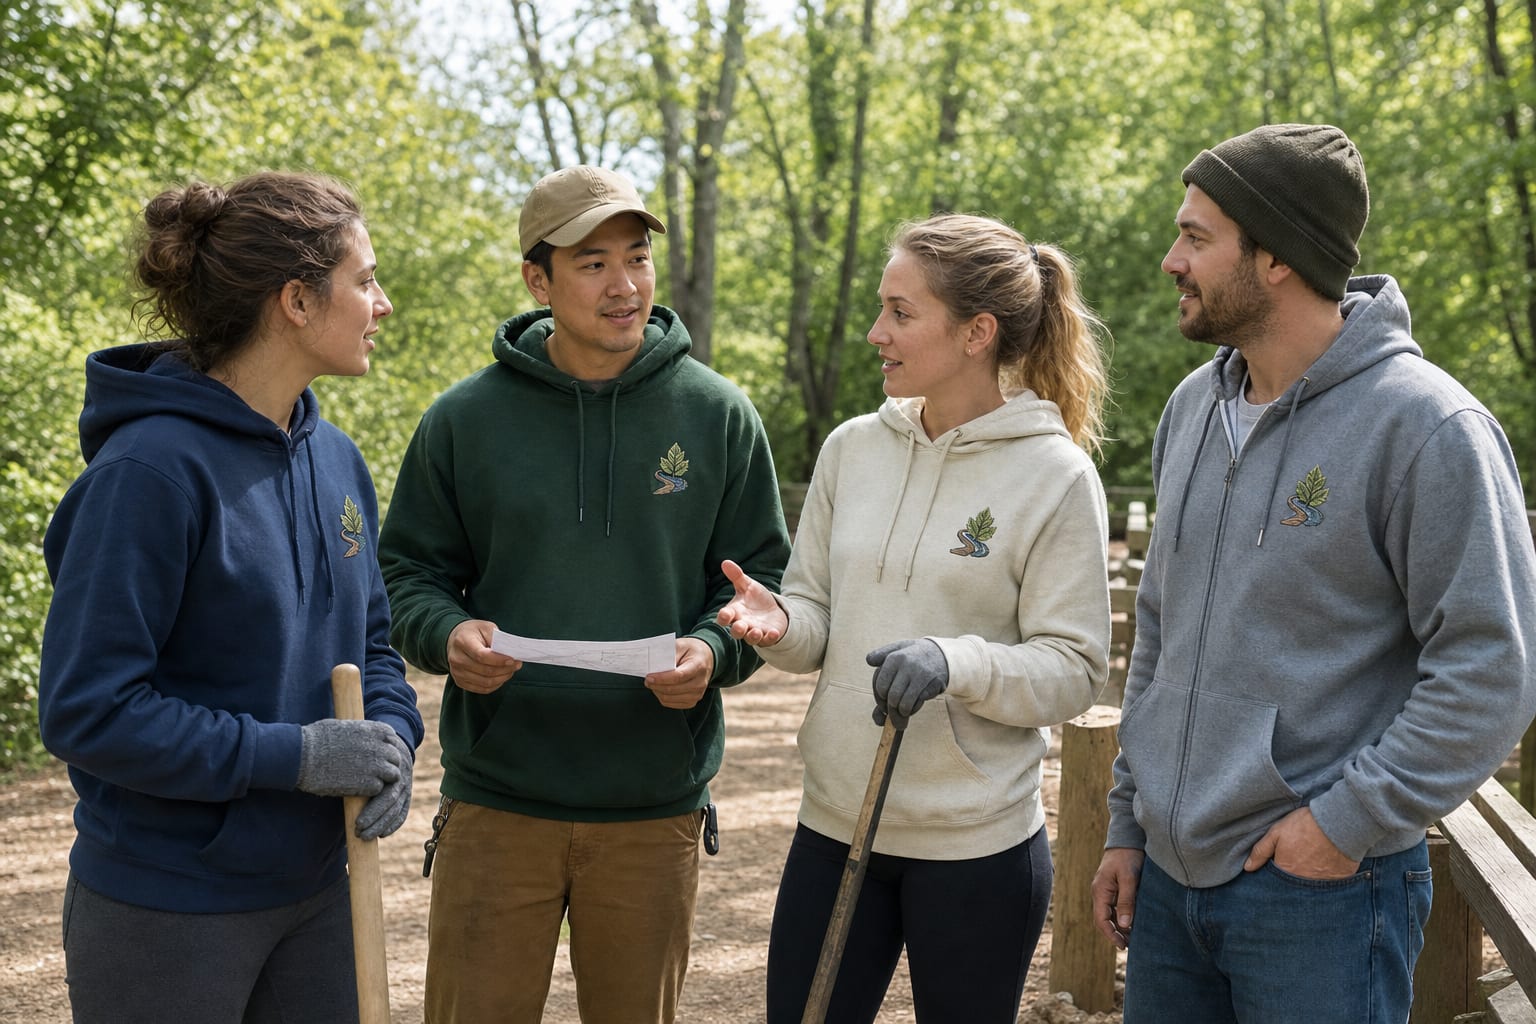
Begin by listing where the hoodies will be worn. Staff who work outdoors need different warmth and durability from a dance group using hoodies during travel, or a volunteer team that wears them only at seasonal events.
Estimate the current quantity, but also consider likely new members and replacements. Ask whether the embroidery shop has a minimum order, whether setup charges change for small quantities, and whether the same design can be reordered later.
Decide whether everyone needs one identical hoodie or whether members can choose between a pullover and zip-up version. A small team can still appear unified when the logo, thread palette, and garment colors remain controlled.
2. Confirm That the Team Can Use the Logo
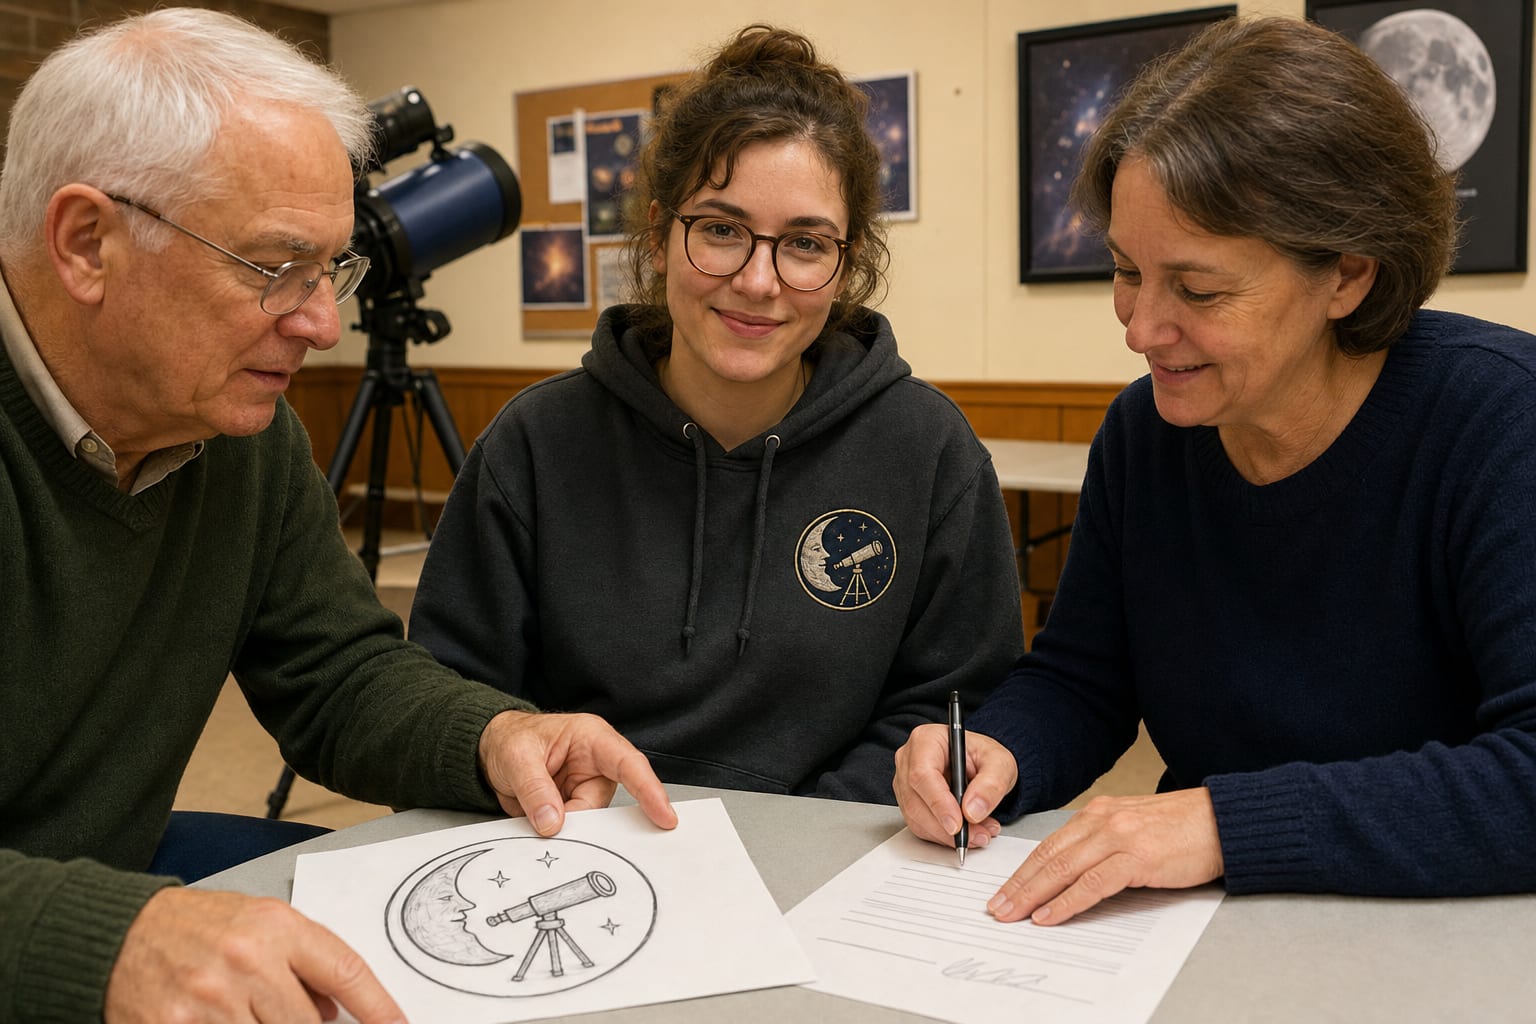
Use artwork created by the team, purchased with appropriate rights, or supplied with clear permission. Do not copy a professional sports mark, school seal, entertainment character, brand badge, or another organization's logo because it looks relevant to the group.
If a designer created the logo, confirm that the team received the rights needed for apparel production. Keep the original files and any usage agreement with the order records.
A team without a formal logo can create an original emblem using one meaningful symbol, a short name, or a few initials. Simple, distinctive artwork often works better for embroidery than a complicated imitation of a corporate badge.
3. Simplify the Logo for Embroidery
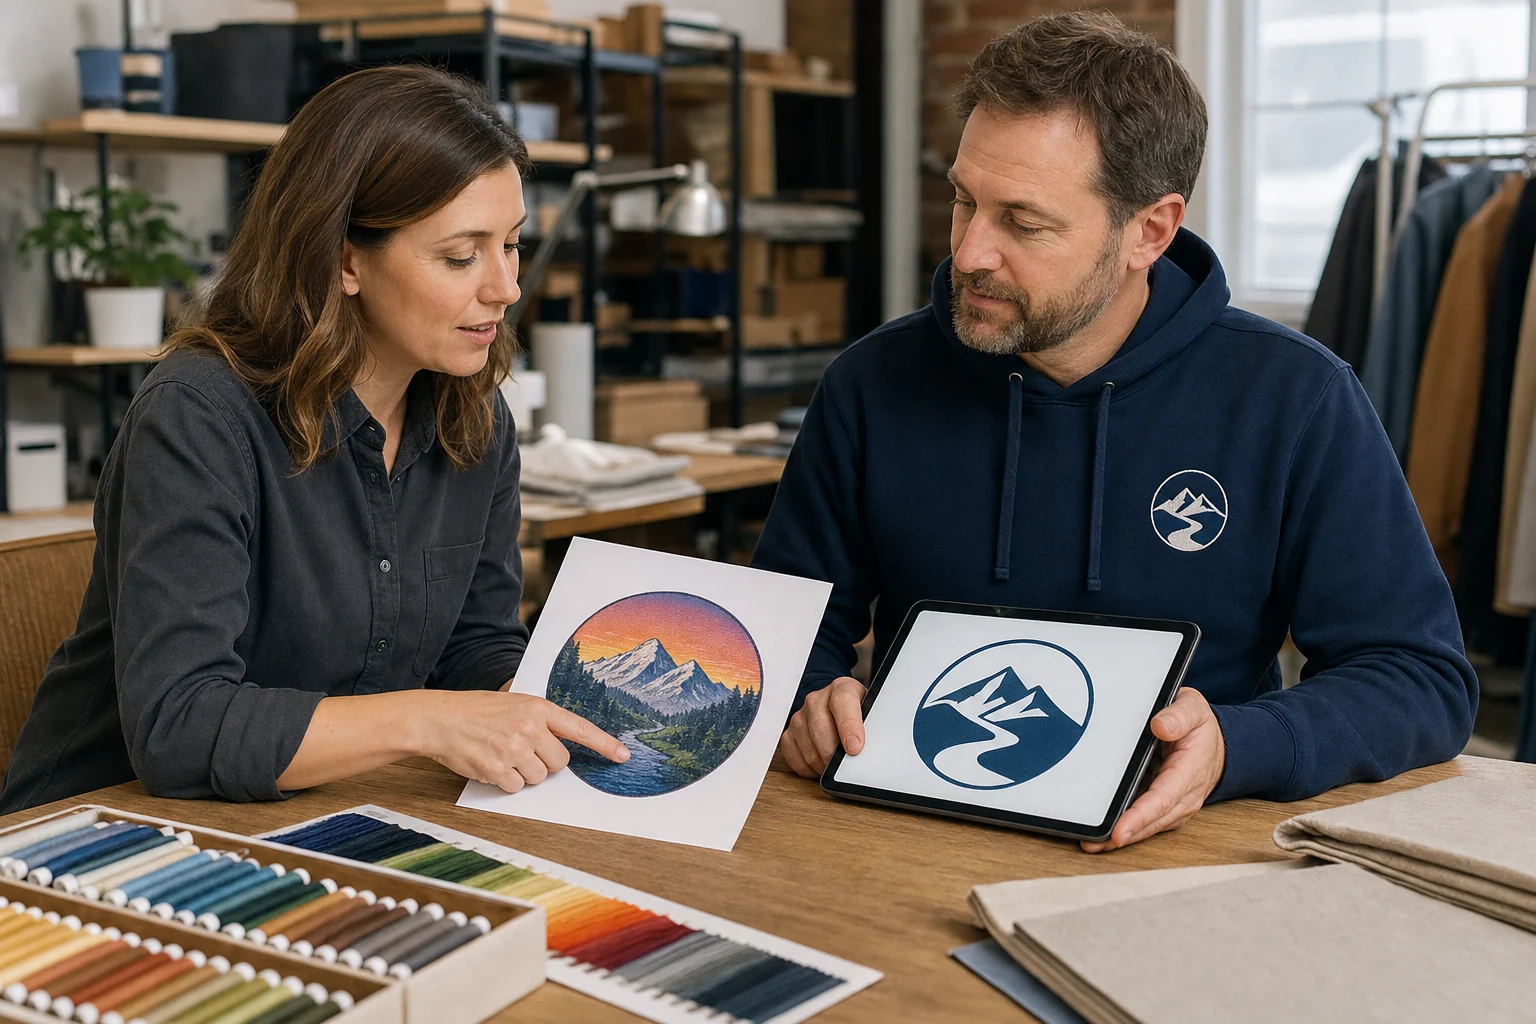
Embroidery converts artwork into paths of thread. Thin lines, tiny text, gradients, transparent effects, shadows, and intricate textures may disappear or merge when stitched at left-chest size.
Begin with the highest-quality source file available. Vector artwork is helpful, but a large clean PNG can also work when the logo is simple. Ask the embroidery provider which lines need to be strengthened, which colors can be combined, and whether a small tagline should be removed.
Protect the logo's core identity: its main shape, strongest contrast, and most recognizable symbol. Simplification should make the mark clearer, not redesign it into something unrelated.
4. Choose the Right Hoodie Style and Fabric
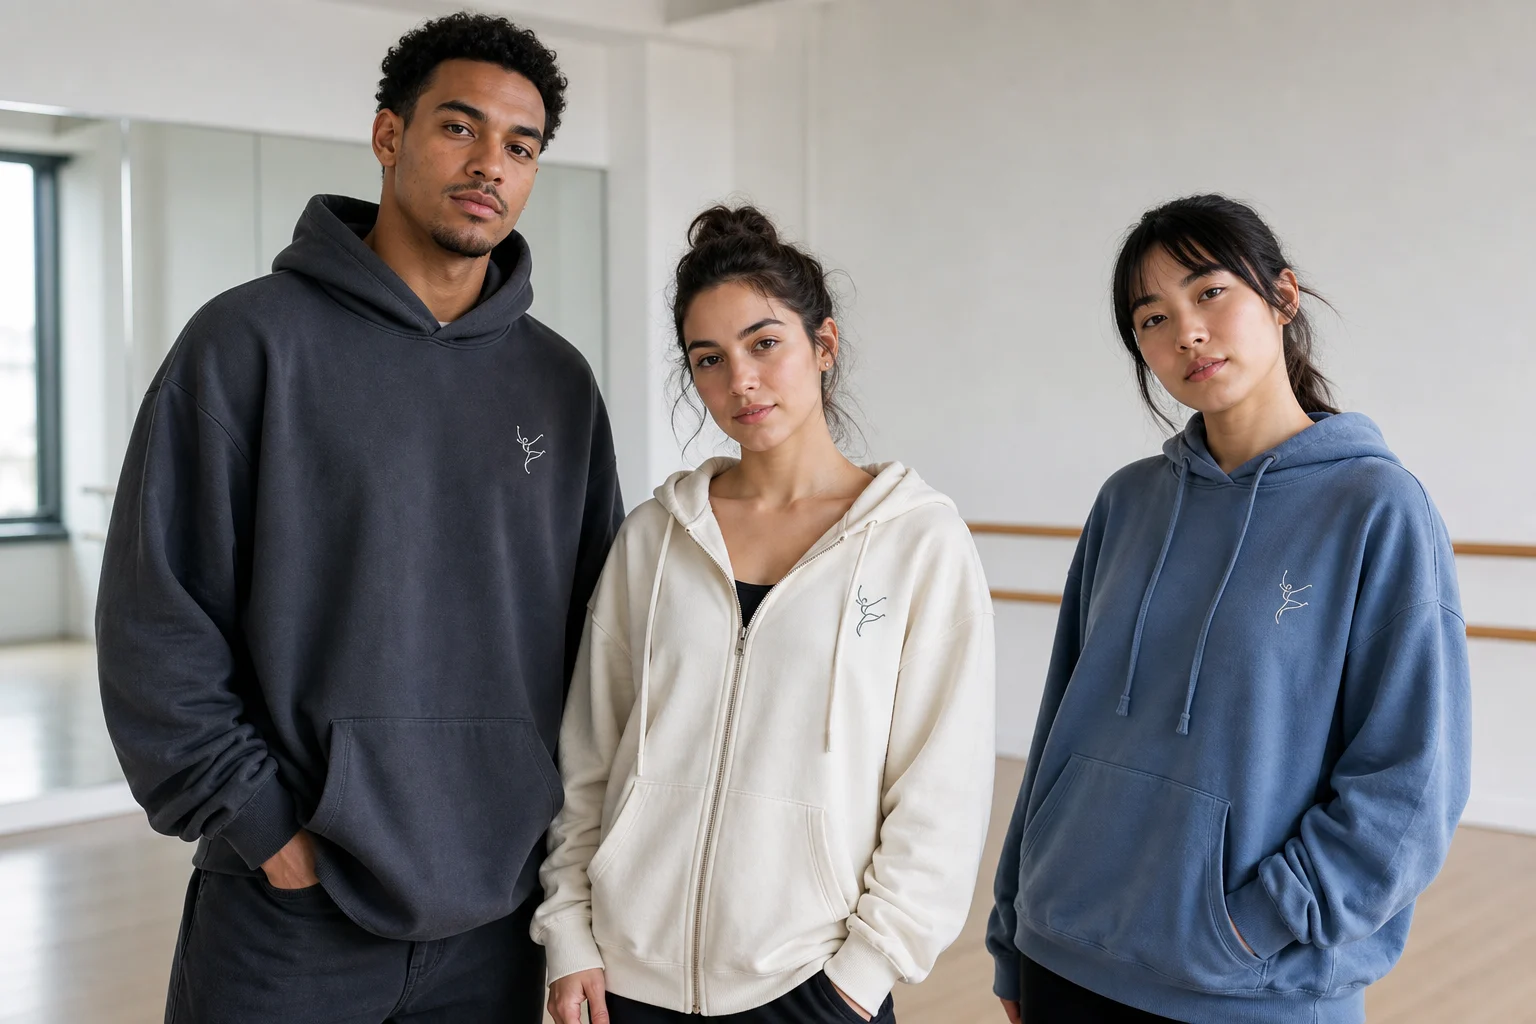
Pullover hoodies feel casual and provide an uninterrupted front. Zip-up hoodies offer flexible layering but the zipper limits center-front artwork and may slightly change left-chest placement. For a small logo, either can work when the garment is selected first.
Midweight cotton-blend fleece is versatile for indoor and outdoor use. Heavyweight hoodies feel substantial and warm, while lightweight styles suit active teams and mild climates. Very stretchy, thin, or loosely knit fabric may need added stabilization to support dense stitches.
Review the exact fabric composition, weight, pocket style, hood shape, and care instructions. If possible, order or inspect one blank sample before committing to every team size.
You May Also Like

Custom Guitar Chord Handwriting Embroidered T-Shirt - Personalized Music Gift

Custom Car Outline Embroidered Hoodie — Personalized Car Lover Gift

Custom Vehicle Photo Embroidered Hoodie — Personalized Gift for Dad, Husband or Boyfriend
5. Set the Left-Chest Logo Size and Placement
Left-chest embroidery is the most versatile option for small-team hoodies. It looks professional, stays visible when the hoodie is partially unzipped, and leaves the rest of the garment clean.
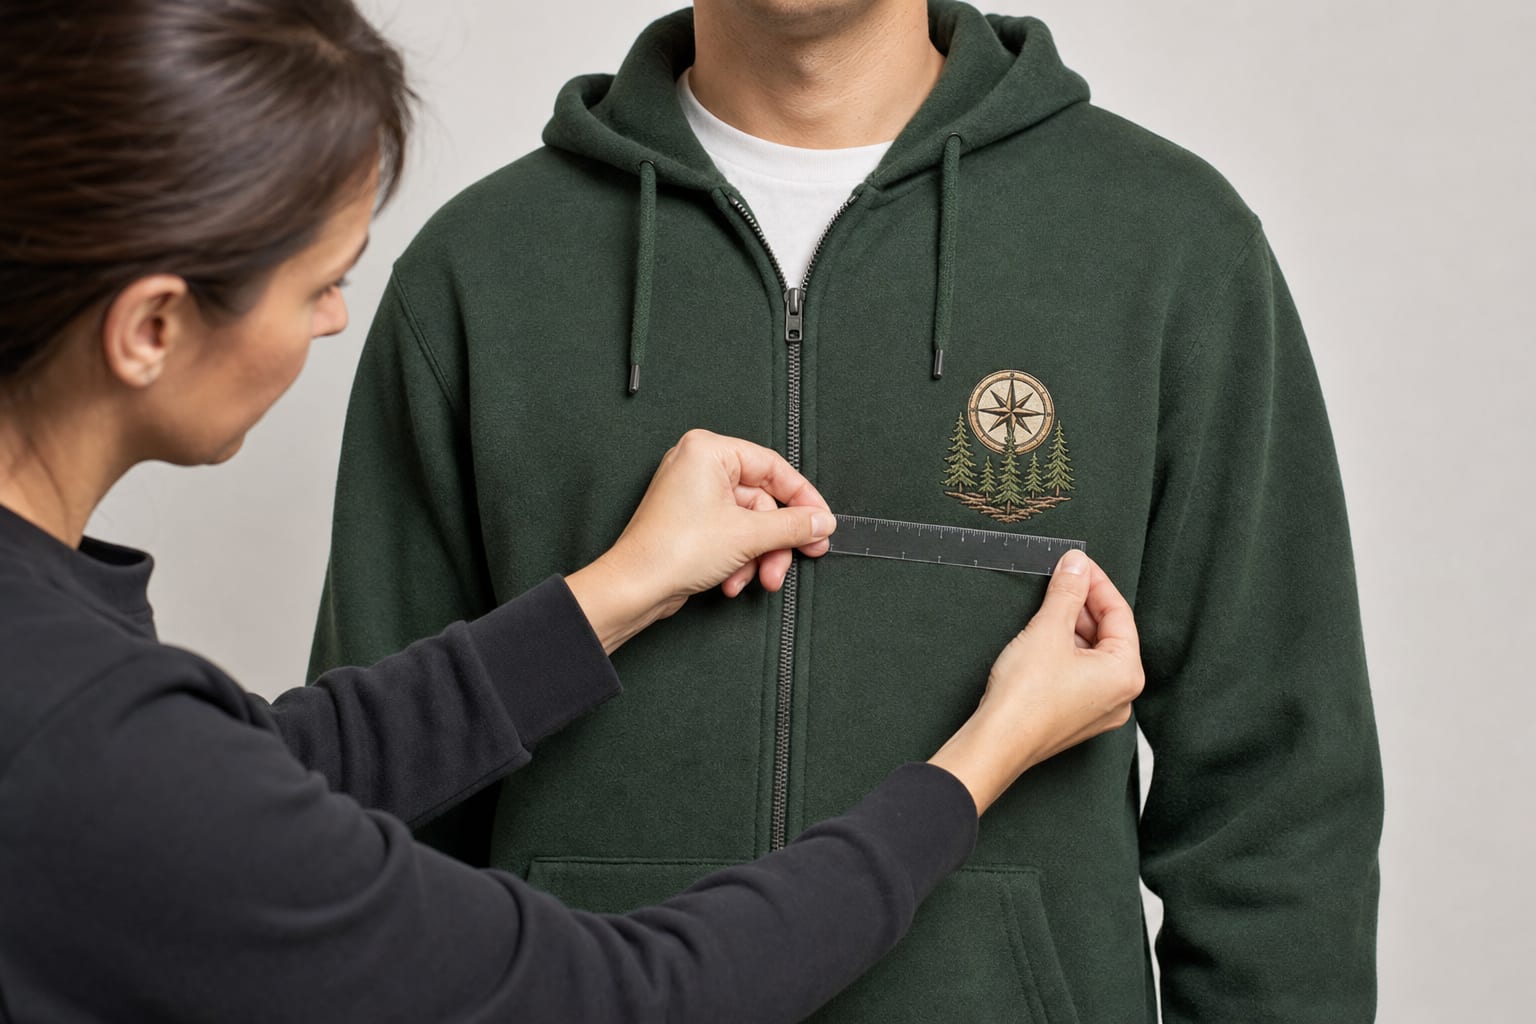
Many compact logos fall near three to four inches wide, but the correct size depends on artwork shape, lettering, stitch count, garment size, zipper position, and pocket construction. A narrow vertical emblem needs different dimensions from a long team name.
Ask for a garment mockup that states the finished dimensions. Check the smallest and largest hoodie sizes in the order. The design should remain on the wearer's anatomical left chest rather than drifting toward the center, shoulder, underarm, sleeve, or pocket.
6. Test Garment and Thread Color Contrast
A logo that looks clear on a screen can disappear on fabric if the colors are too similar. Light thread stands out on navy, charcoal, black, forest green, and burgundy; darker thread is often more visible on cream, sand, light gray, and pastel hoodies.
If members can choose several hoodie colors, place the logo on every color in the proof. The team may need one light-thread and one dark-thread version to maintain contrast while preserving the same logo.
Keep color changes controlled. Too many garment and thread combinations make a small order harder to check and can complicate future reorders.

7. Decide Whether to Add Names or Roles
Individual first names or short roles can help customers, volunteers, and new members identify people. Place the name directly beneath the shared logo within the same left-chest area so the hoodie still looks unified.
Choose one font, capitalization style, and thread color for all personalization. Decide whether the group will use first names, last names, nicknames, or roles such as “COACH” or “VOLUNTEER.” Allow members to omit a name if privacy is a concern.
Personalization can affect price and production setup. Submit a carefully checked spreadsheet or order sheet, and have a second person verify every spelling before approval.

8. Review the Proof, Sizes, Timeline, and Reorder Policy
Before production, inspect the digital proof for logo shape, spelling, thread colors, stitch-friendly detail, finished size, and exact left-chest placement. View the design both enlarged and at its true physical size.
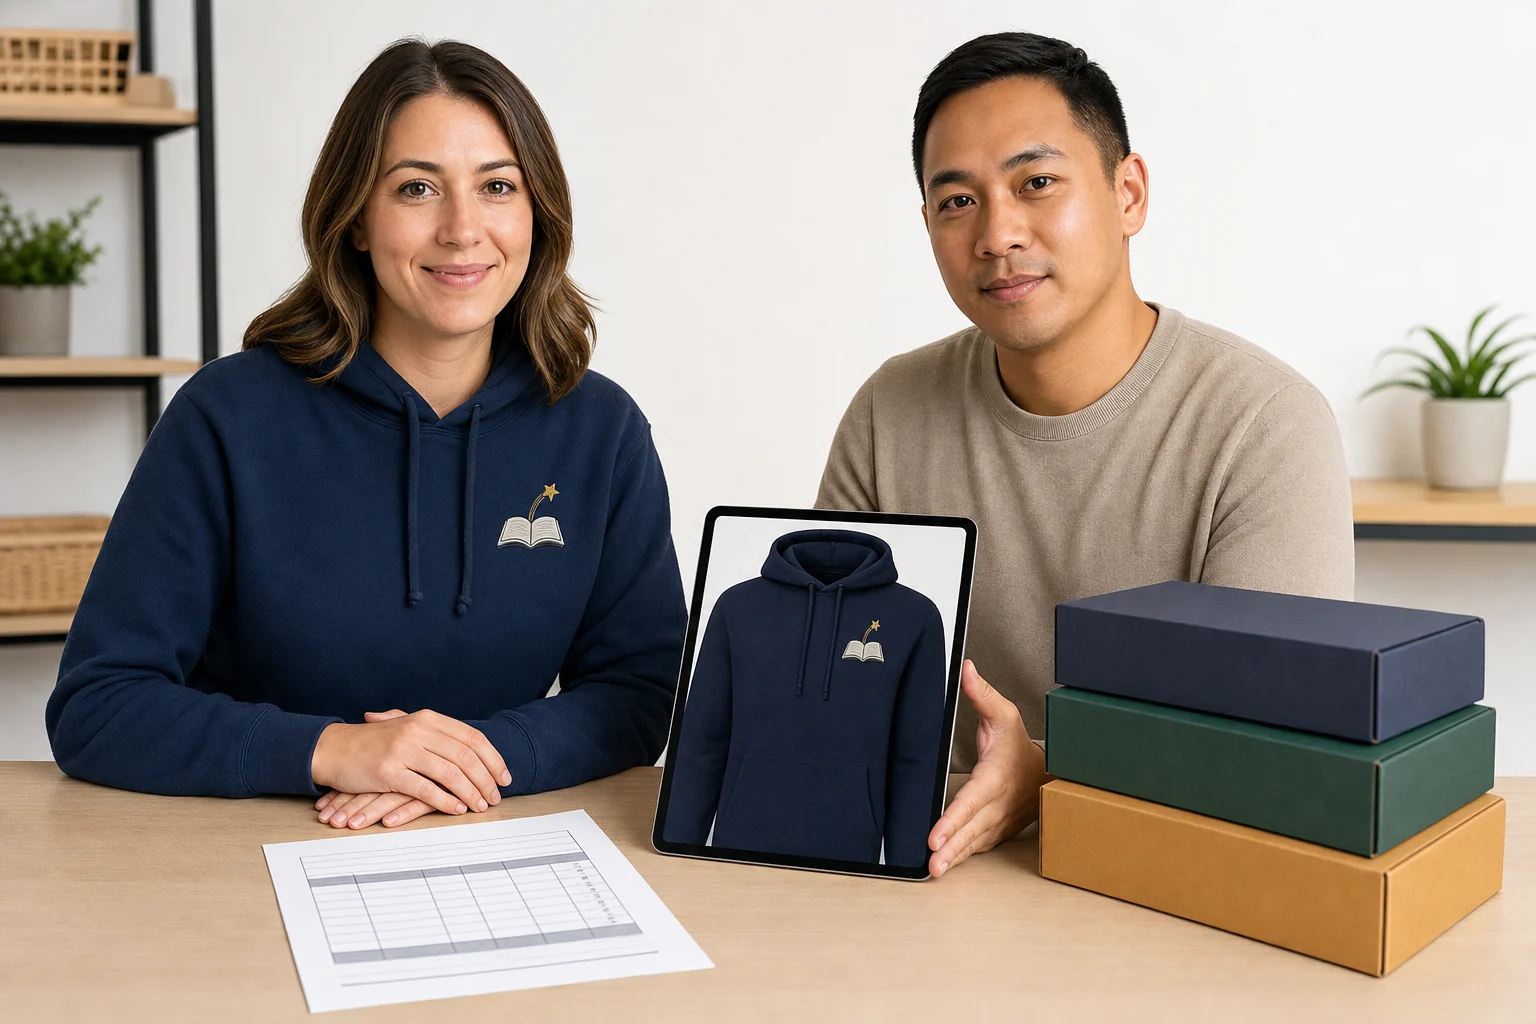
Use the supplier's specific size chart rather than guessing. Collect each member's hoodie style, color, and size in one document, set a deadline, and ask members to confirm their own entry. Check that the available size range serves the entire team.
Finally, confirm production time, shipping date, quality policy, and reorder terms in writing. Save the digitized embroidery file reference, garment model, thread colors, approved proof, and final order sheet so future members can receive a consistent hoodie.
Small-Team Hoodie Order Checklist
- Define the hoodie purpose and expected wearing conditions.
- Confirm current quantity and possible future reorders.
- Use an original or properly licensed logo.
- Simplify thin lines, tiny text, and gradients.
- Select the hoodie style and fabric before finalizing placement.
- Check thread contrast on every garment color.
- Collect exact sizes and personalization in one order sheet.
- Review the true-size left-chest proof.
- Confirm production, delivery, quality, and reorder policies.